by Tiwari Academy Team
NCERT Solutions for Class 7 Computer Science Chapter 4 Basics of Microsoft Excel prepared for new academic session 2026-27. Grade 7 Computer book chapter 4 explains the working methods of MS Excel and helpful for CBSE and State board students.
Class 7 Computer Science Chapter 4 Basics of Microsoft Excel
Microsoft Excel
MS Excel is the spreadsheet Software developed by Microsoft. Spreadsheet software are used to perform any type of calculations and analysis.
Spreadsheets are used in different fields such as business, science and engineering for performing different calculations.
MS Excel is the most popular software that helps us to:
- Arrange Data in an organized way
- Type less and get more
- Perform calculations
- Auto recalculation
- Auto Format Data
- Compare Data through Chart
- Sort Data for better analysis
- Compare two worksheets side by side
- Spreadsheet in MS-Excel is also known as Worksheet.
WORKBOOK
An Excel file is known as a Workbook. Each workbook has three worksheets by default. But you can insert more worksheets in an Excel workbook. The tabs for the worksheets in a workbook are visible in the same line as the horizontal scroll bar. These tabs are clicked to view the worksheets. You can give names to your worksheets by following these steps.
- Click on the worksheet tab. It is named as Sheet1 by default.
- Right click the mouse to get the shortcut menu.
- Click Rename.
- The tab gets highlighted.
- Type in the name you wish to give the worksheet. A workbook can have a maximum 256 worksheets.
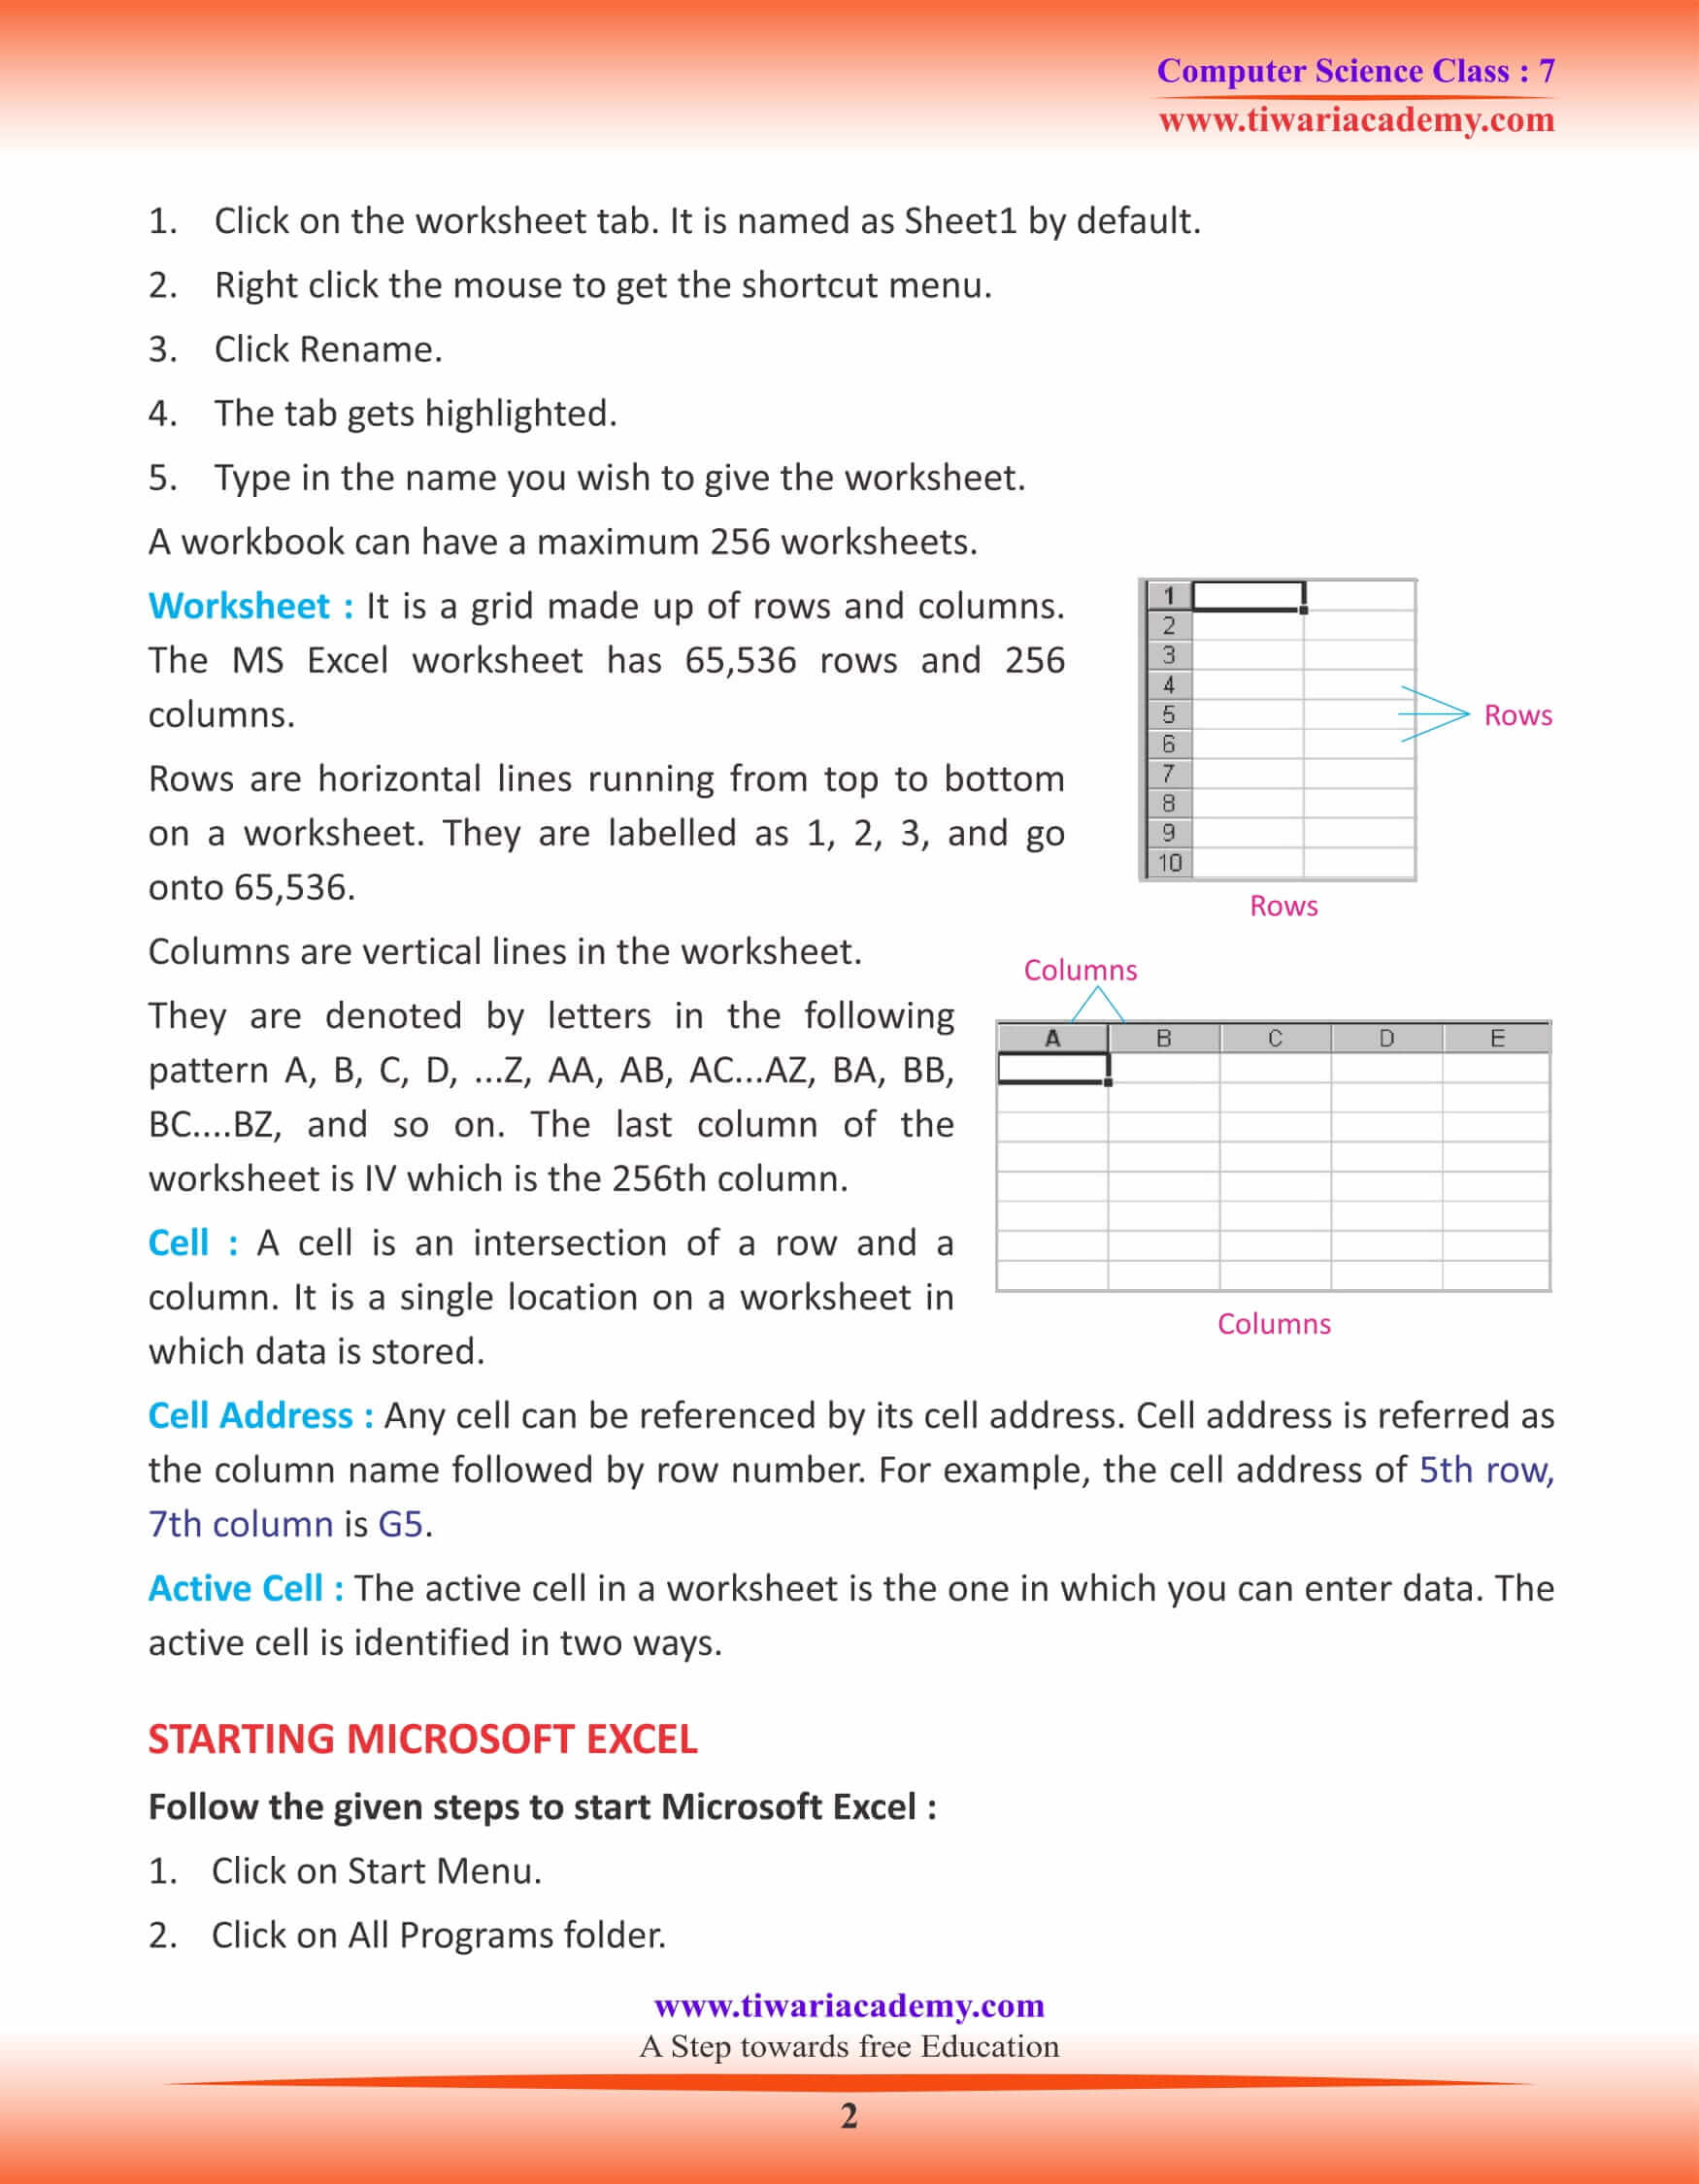
Worksheet
It is a grid made up of rows and columns.
The MS Excel worksheet has 65,536 rows and 256 columns.
Rows are horizontal lines running from top to bottom on a worksheet. They are labelled as 1, 2, 3, and go onto 65,536. Columns are vertical lines in the worksheet.
They are denoted by letters in the following pattern A, B, C, D, …Z, AA, AB, AC…AZ, BA, BB,
BC….BZ, and so on. The last column of the worksheet is IV which is the 256th column.
Cell : A cell is an intersection of a row and a column. It is a single location on a worksheet in which data is stored.
Cell Address
Any cell can be referenced by its cell address. Cell address is referred as the column name followed by row number. For example, the cell address of 5th row, 7th column is G5.
Active Cell : The active cell in a worksheet is the one in which you can enter data. The active cell is identified in two ways.
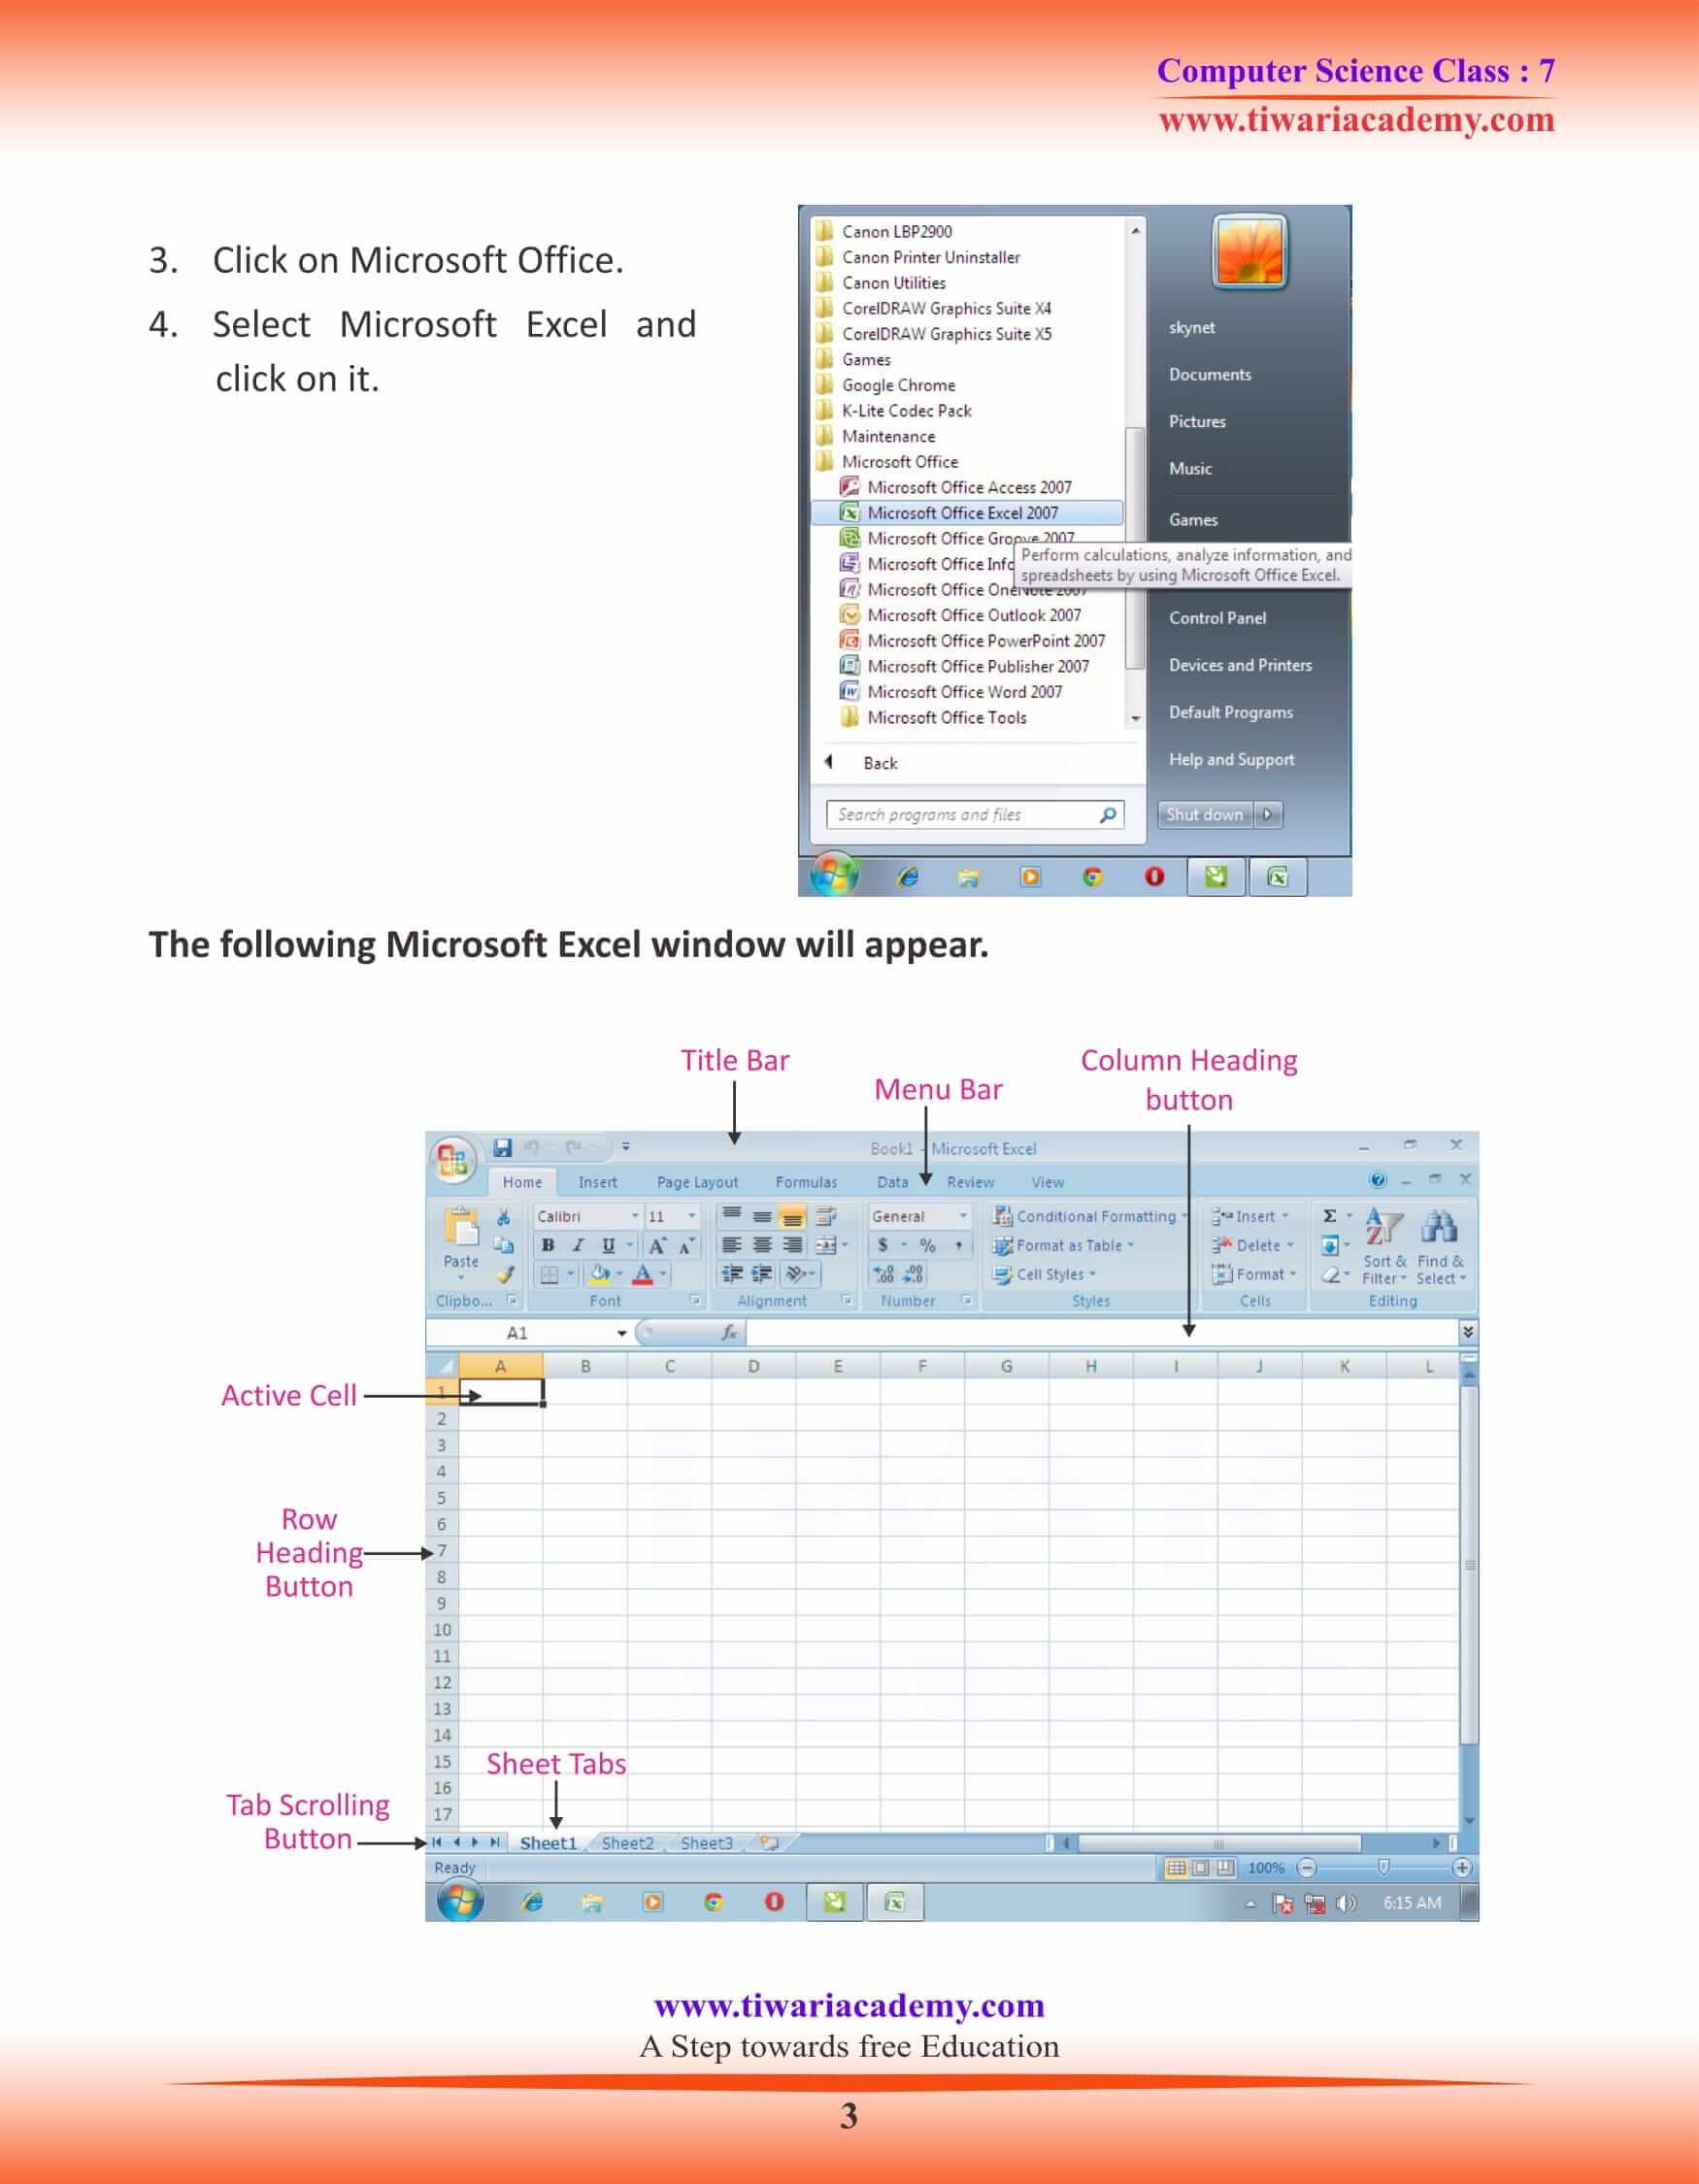
STARTING MICROSOFT EXCEL
Follow the given steps to start Microsoft Excel:
- 1. Click on Start Menu.
- 2. Click on All Programs folder.
- 3. Click on Microsoft Office.
- 4. Select Microsoft Excel and click on it.
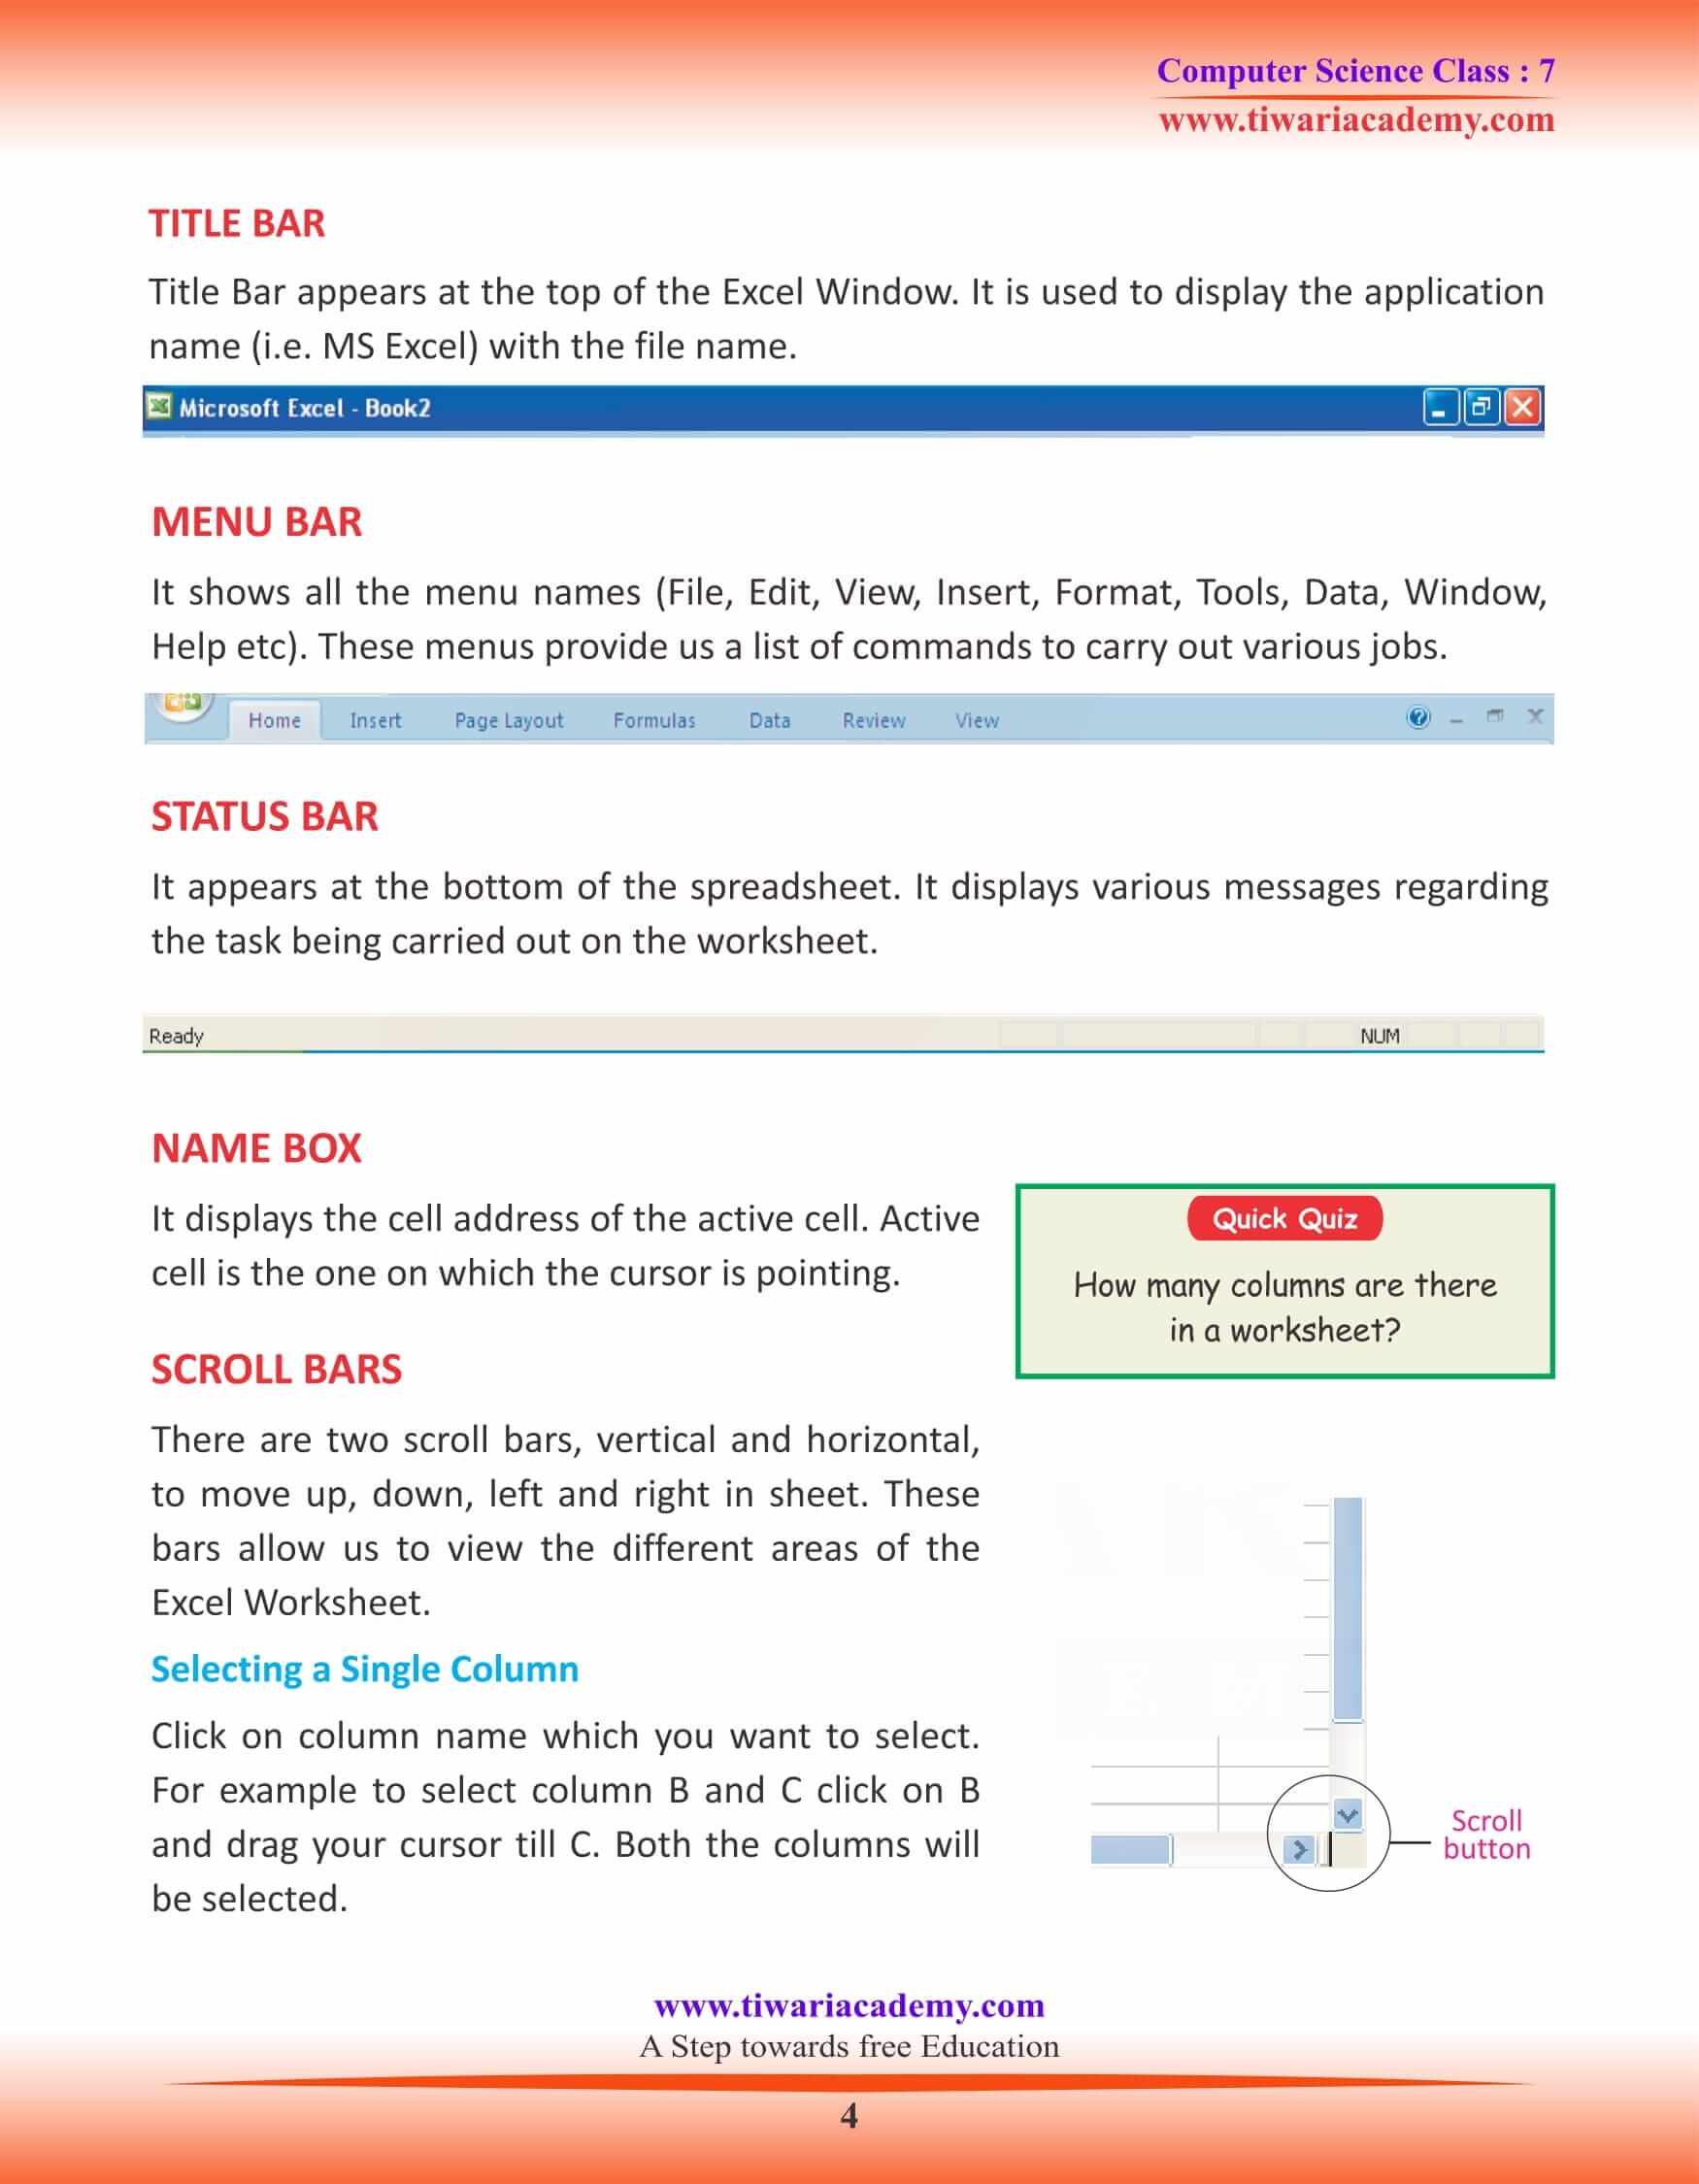
TITLE BAR
Title Bar appears at the top of the Excel Window. It is used to display the application name (i.e. MS Excel) with the file name.
MENU BAR
It shows all the menu names (File, Edit, View, Insert, Format, Tools, Data, Window, Help etc). These menus provide us a list of commands to carry out various jobs.
STATUS BAR
It appears at the bottom of the spreadsheet. It displays various messages regarding the task being carried out on the worksheet.
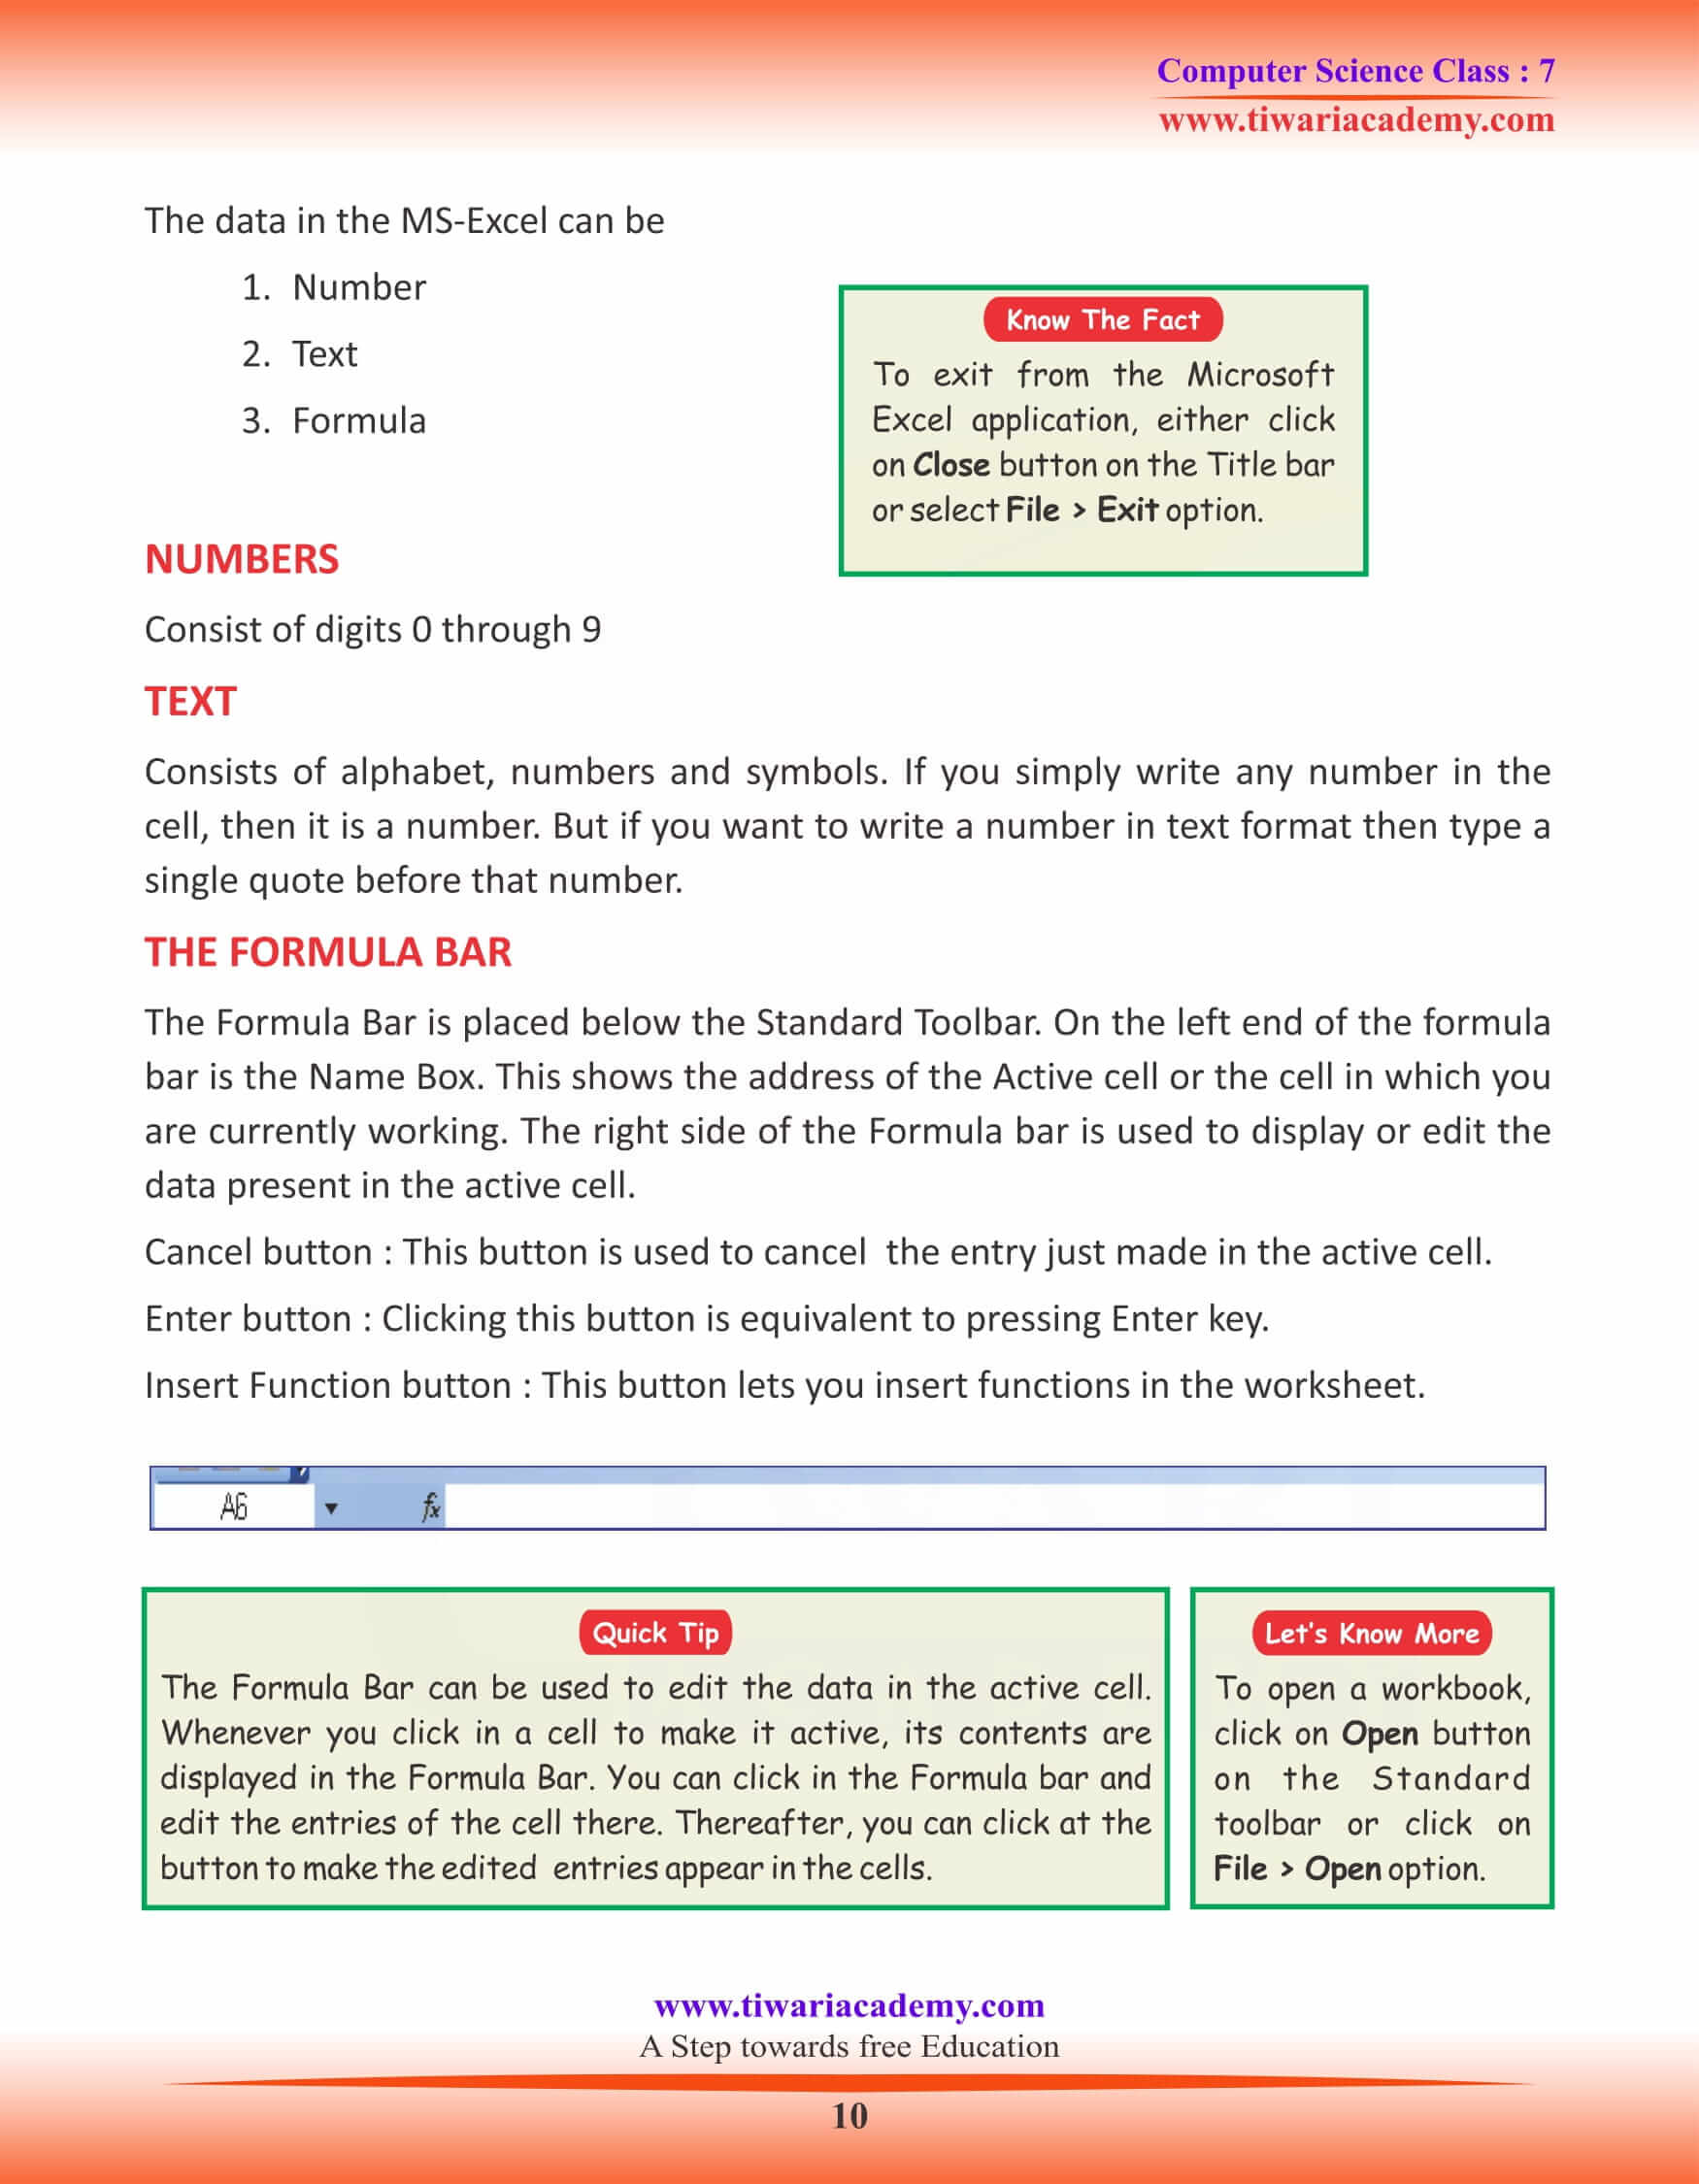
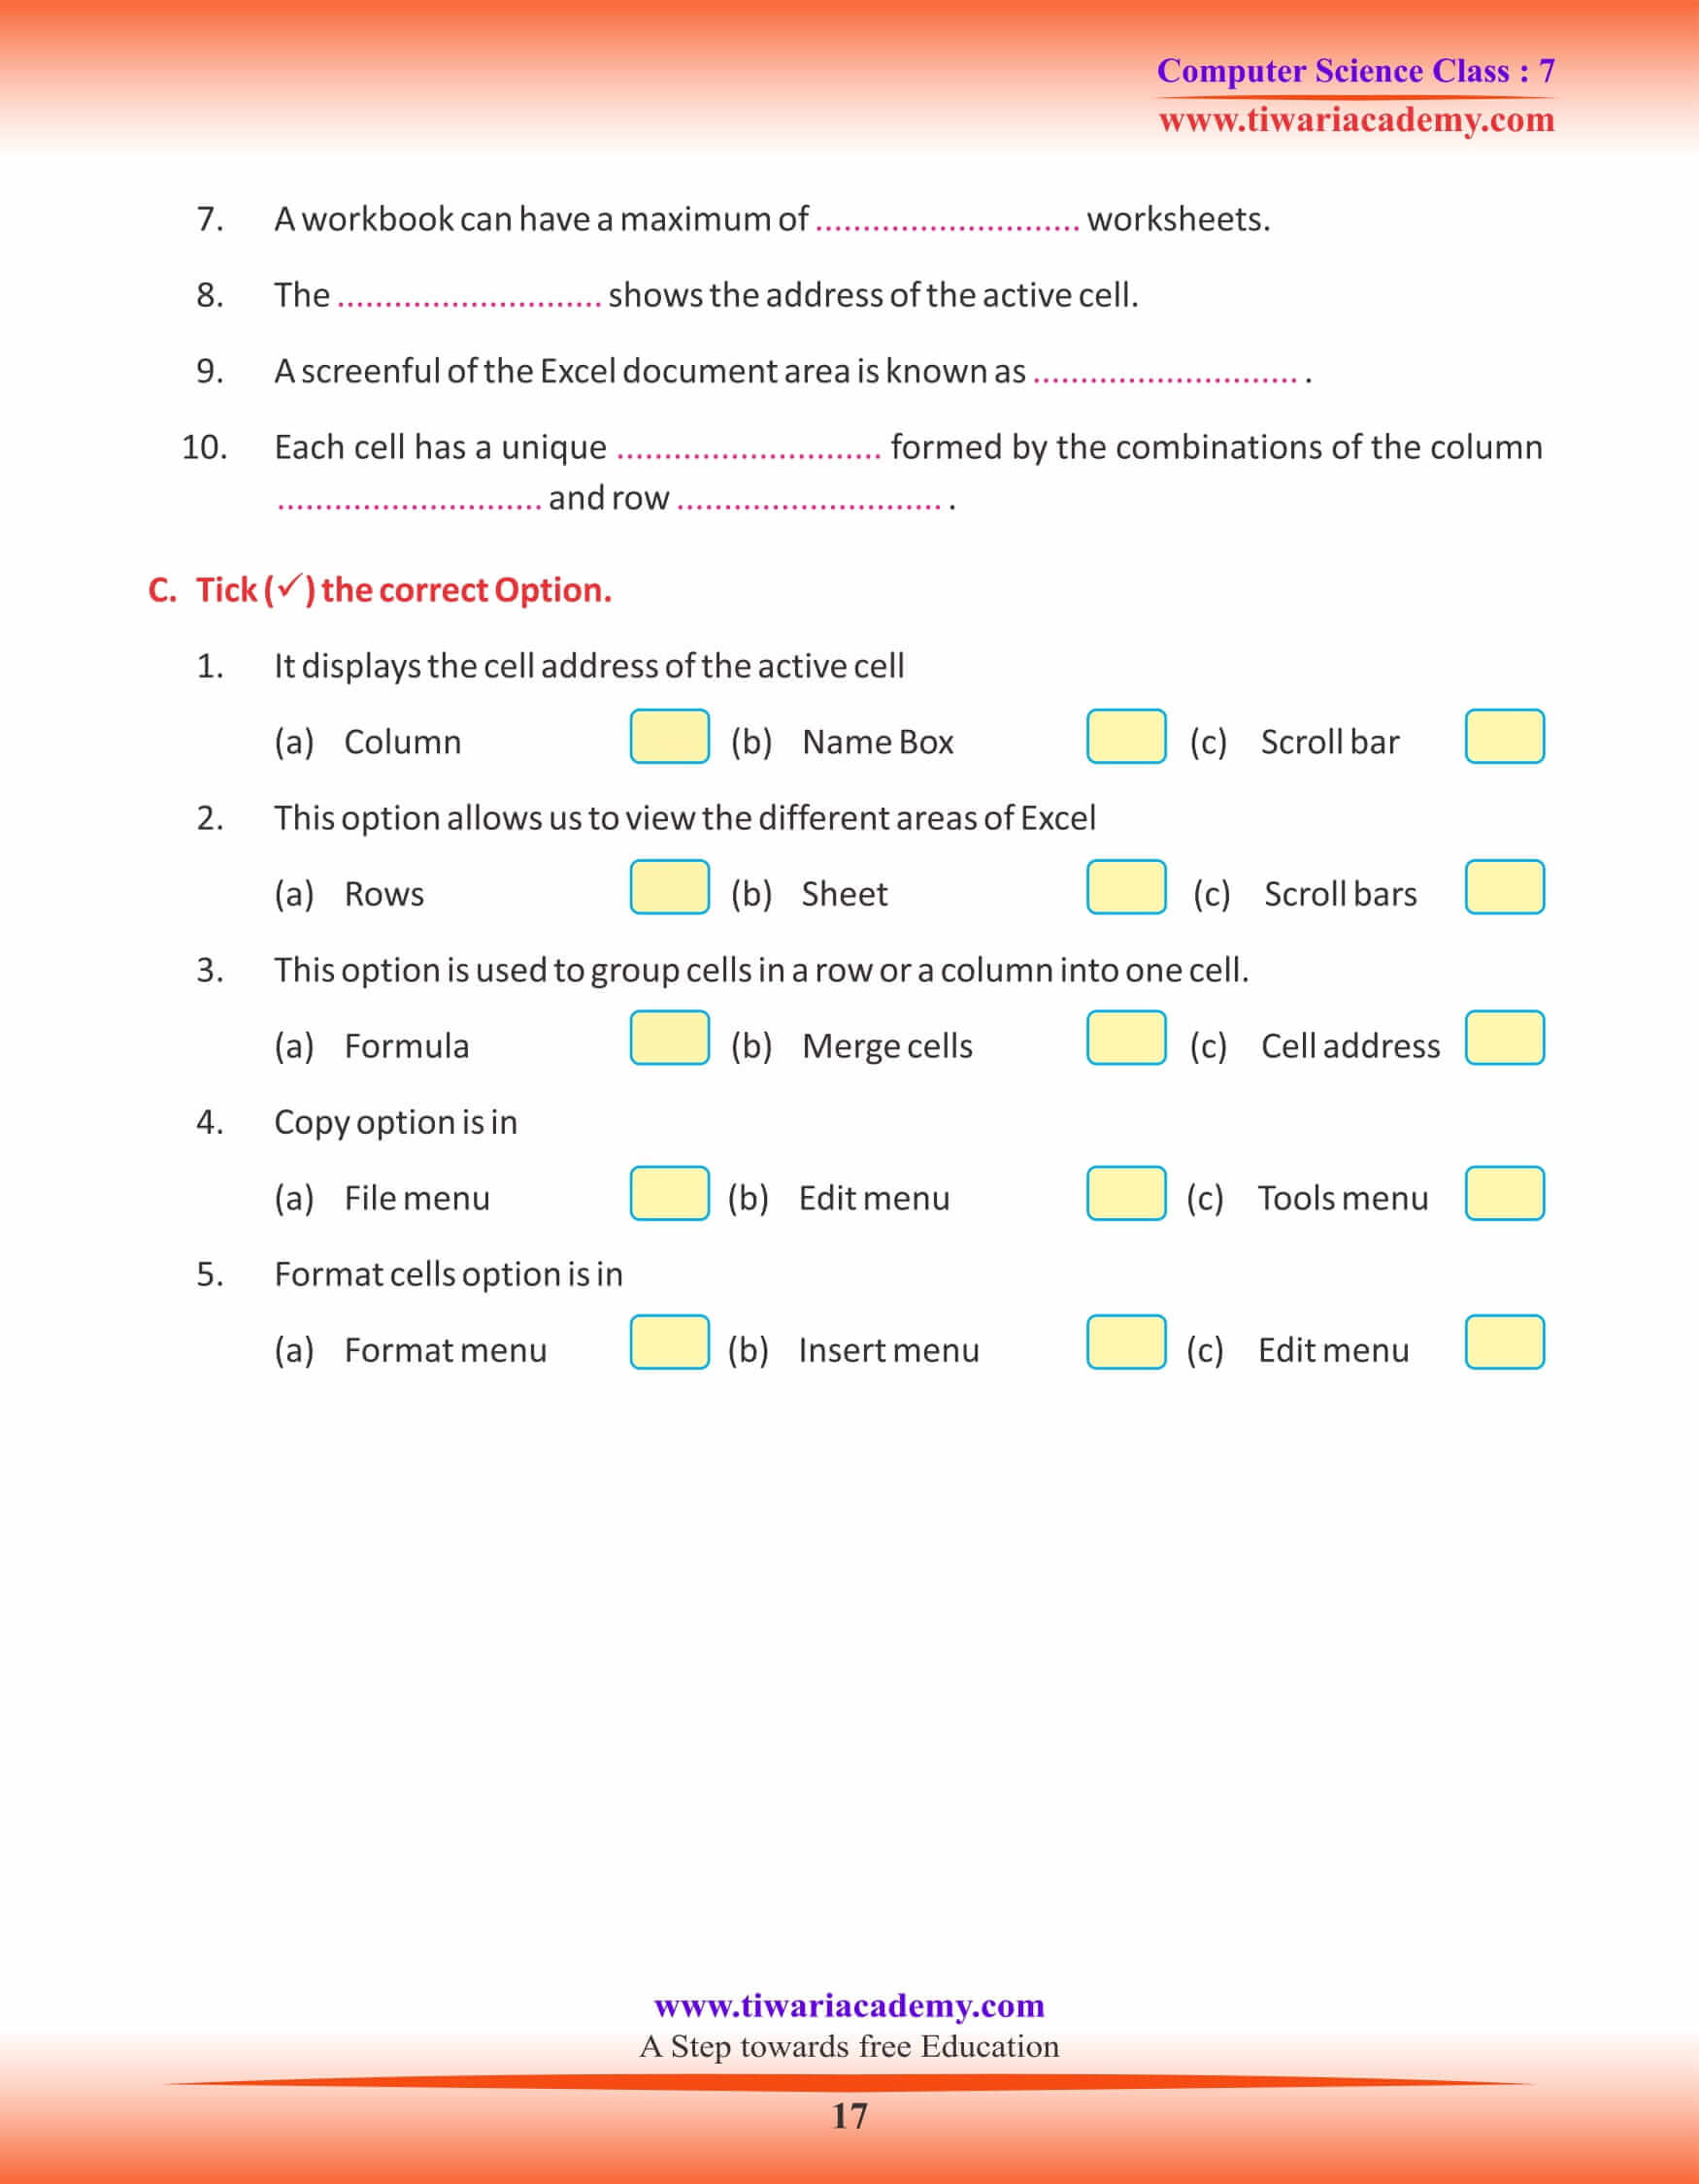
NAME BOX
It displays the cell address of the active cell. Active cell is the one on which the cursor is pointing.
SCROLL BARS
There are two scroll bars, vertical and horizontal, to move up, down, left and right in sheet. These bars allow us to view the different areas of the Excel Worksheet.
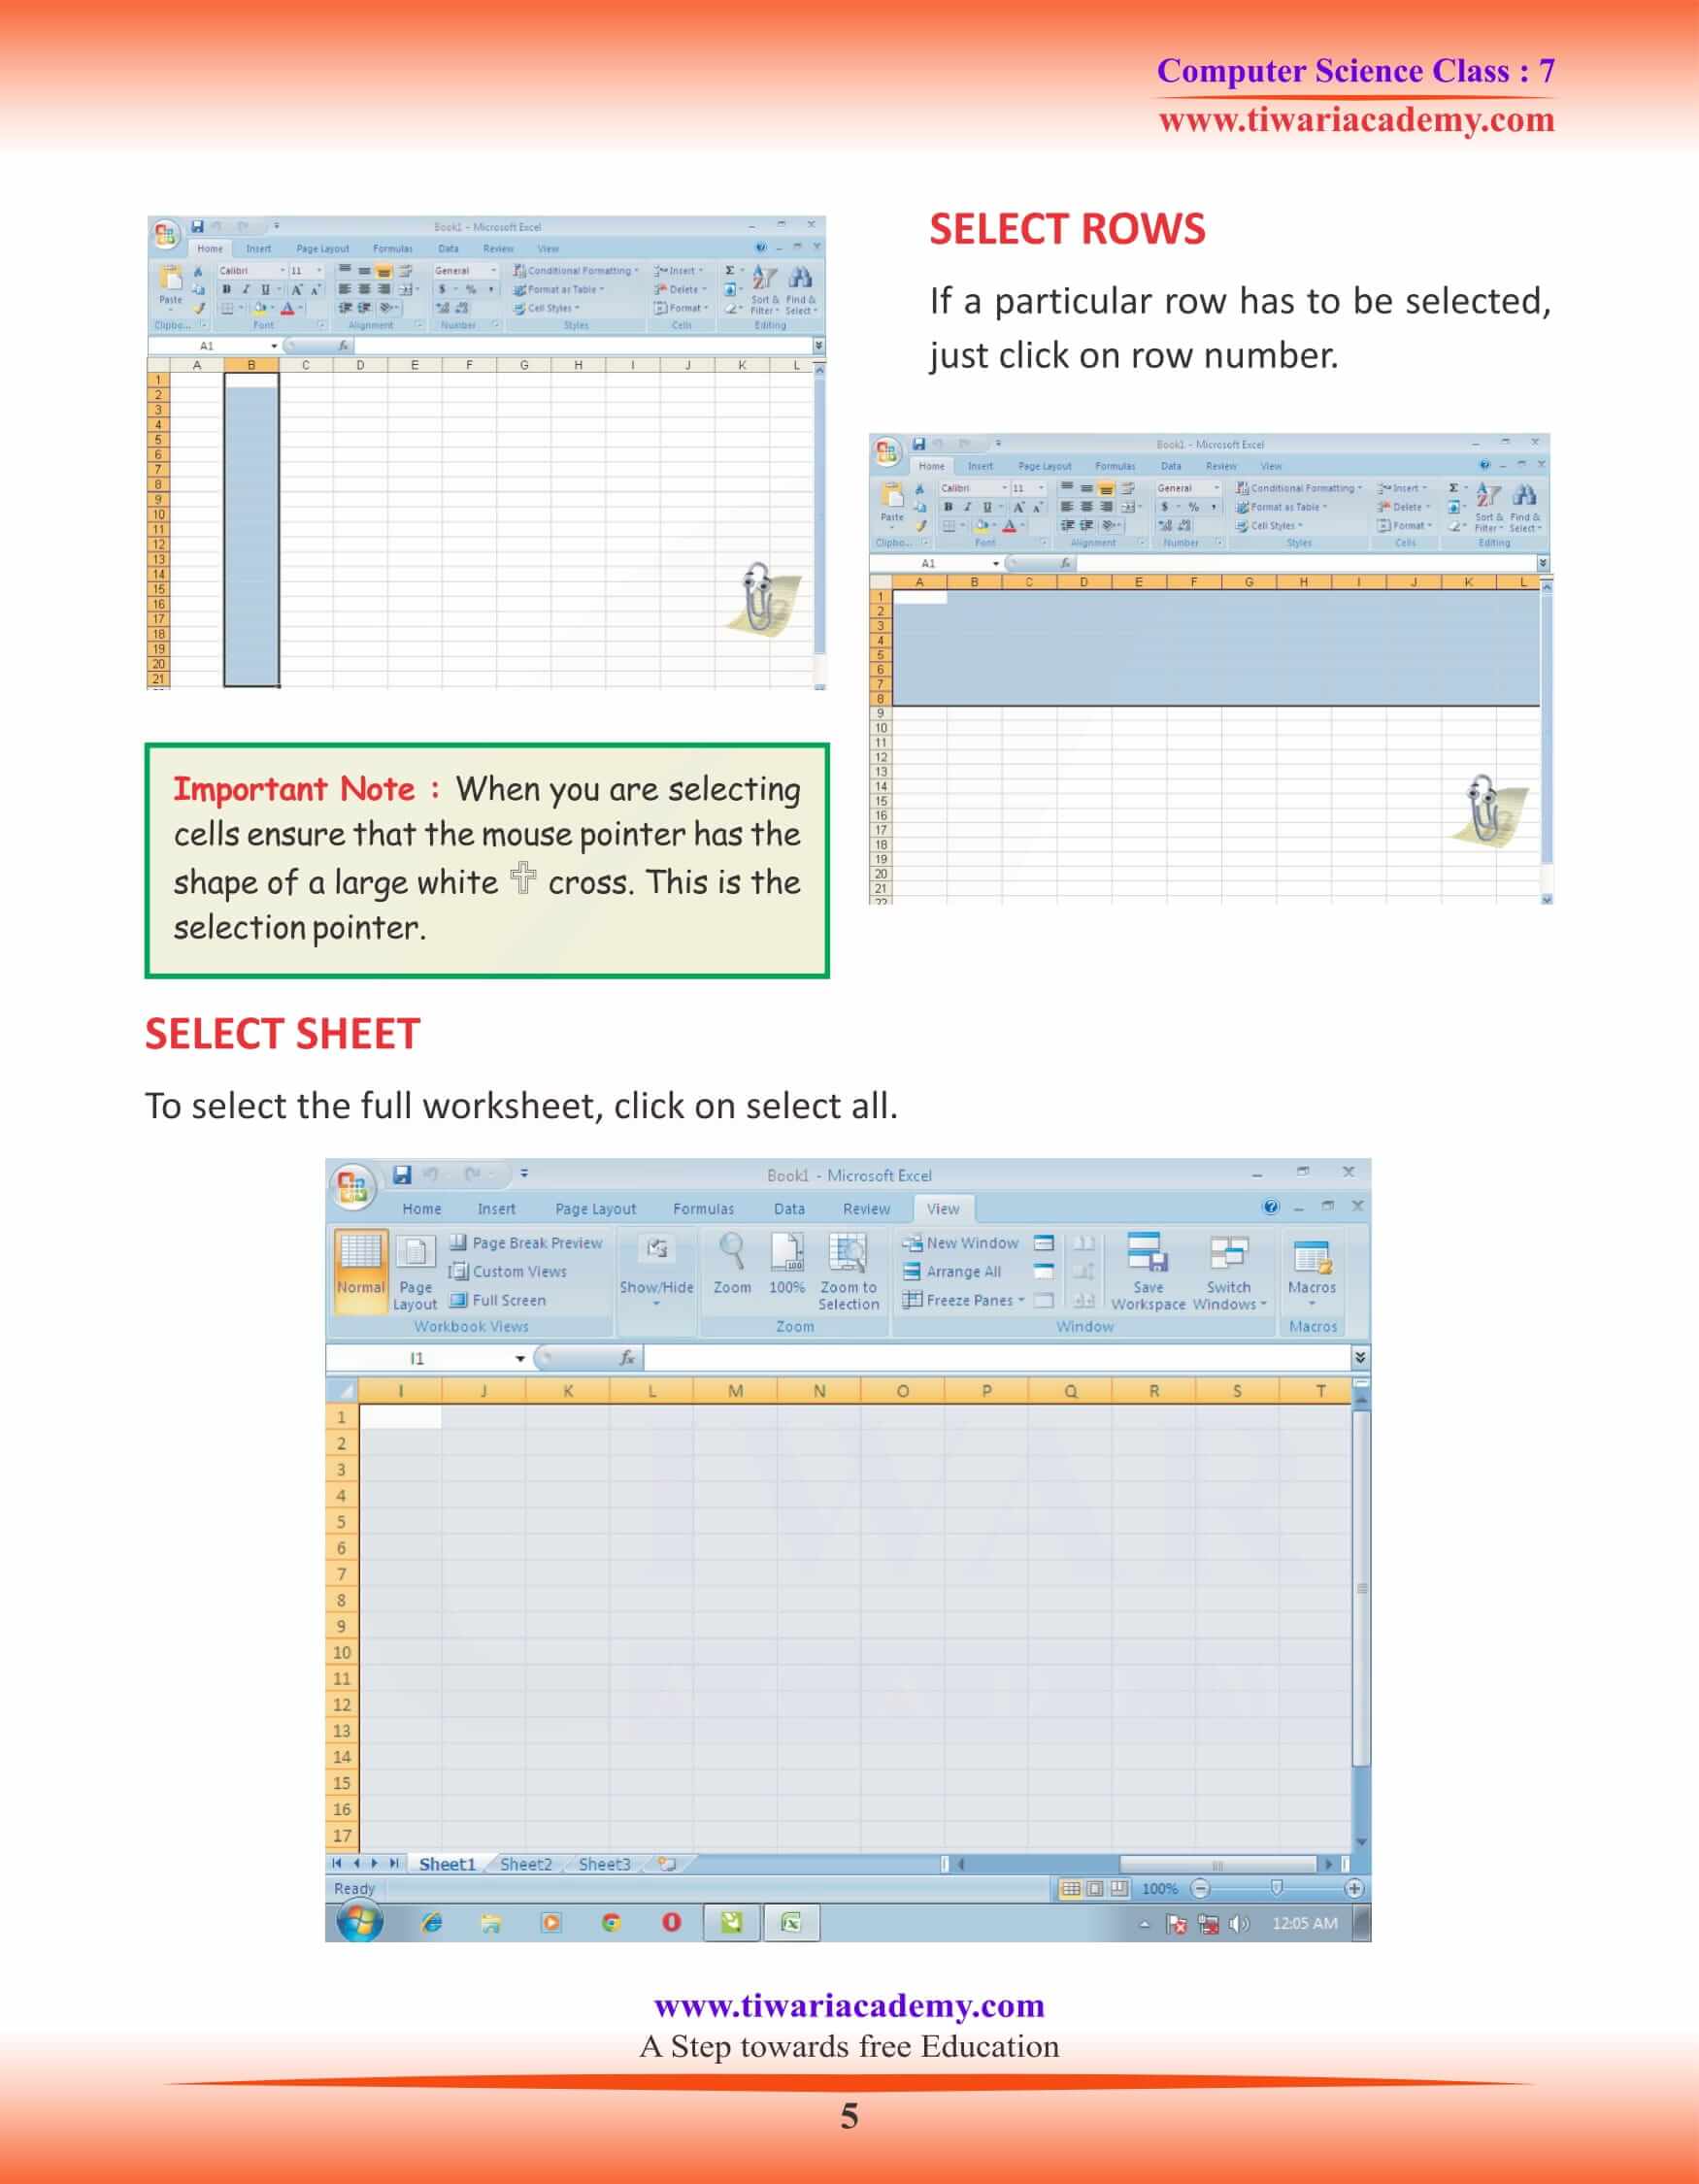
Selecting a Single Column
Click on column name which you want to select. For example to select column B and C click on B and drag your cursor till C. Both the columns will be selected.
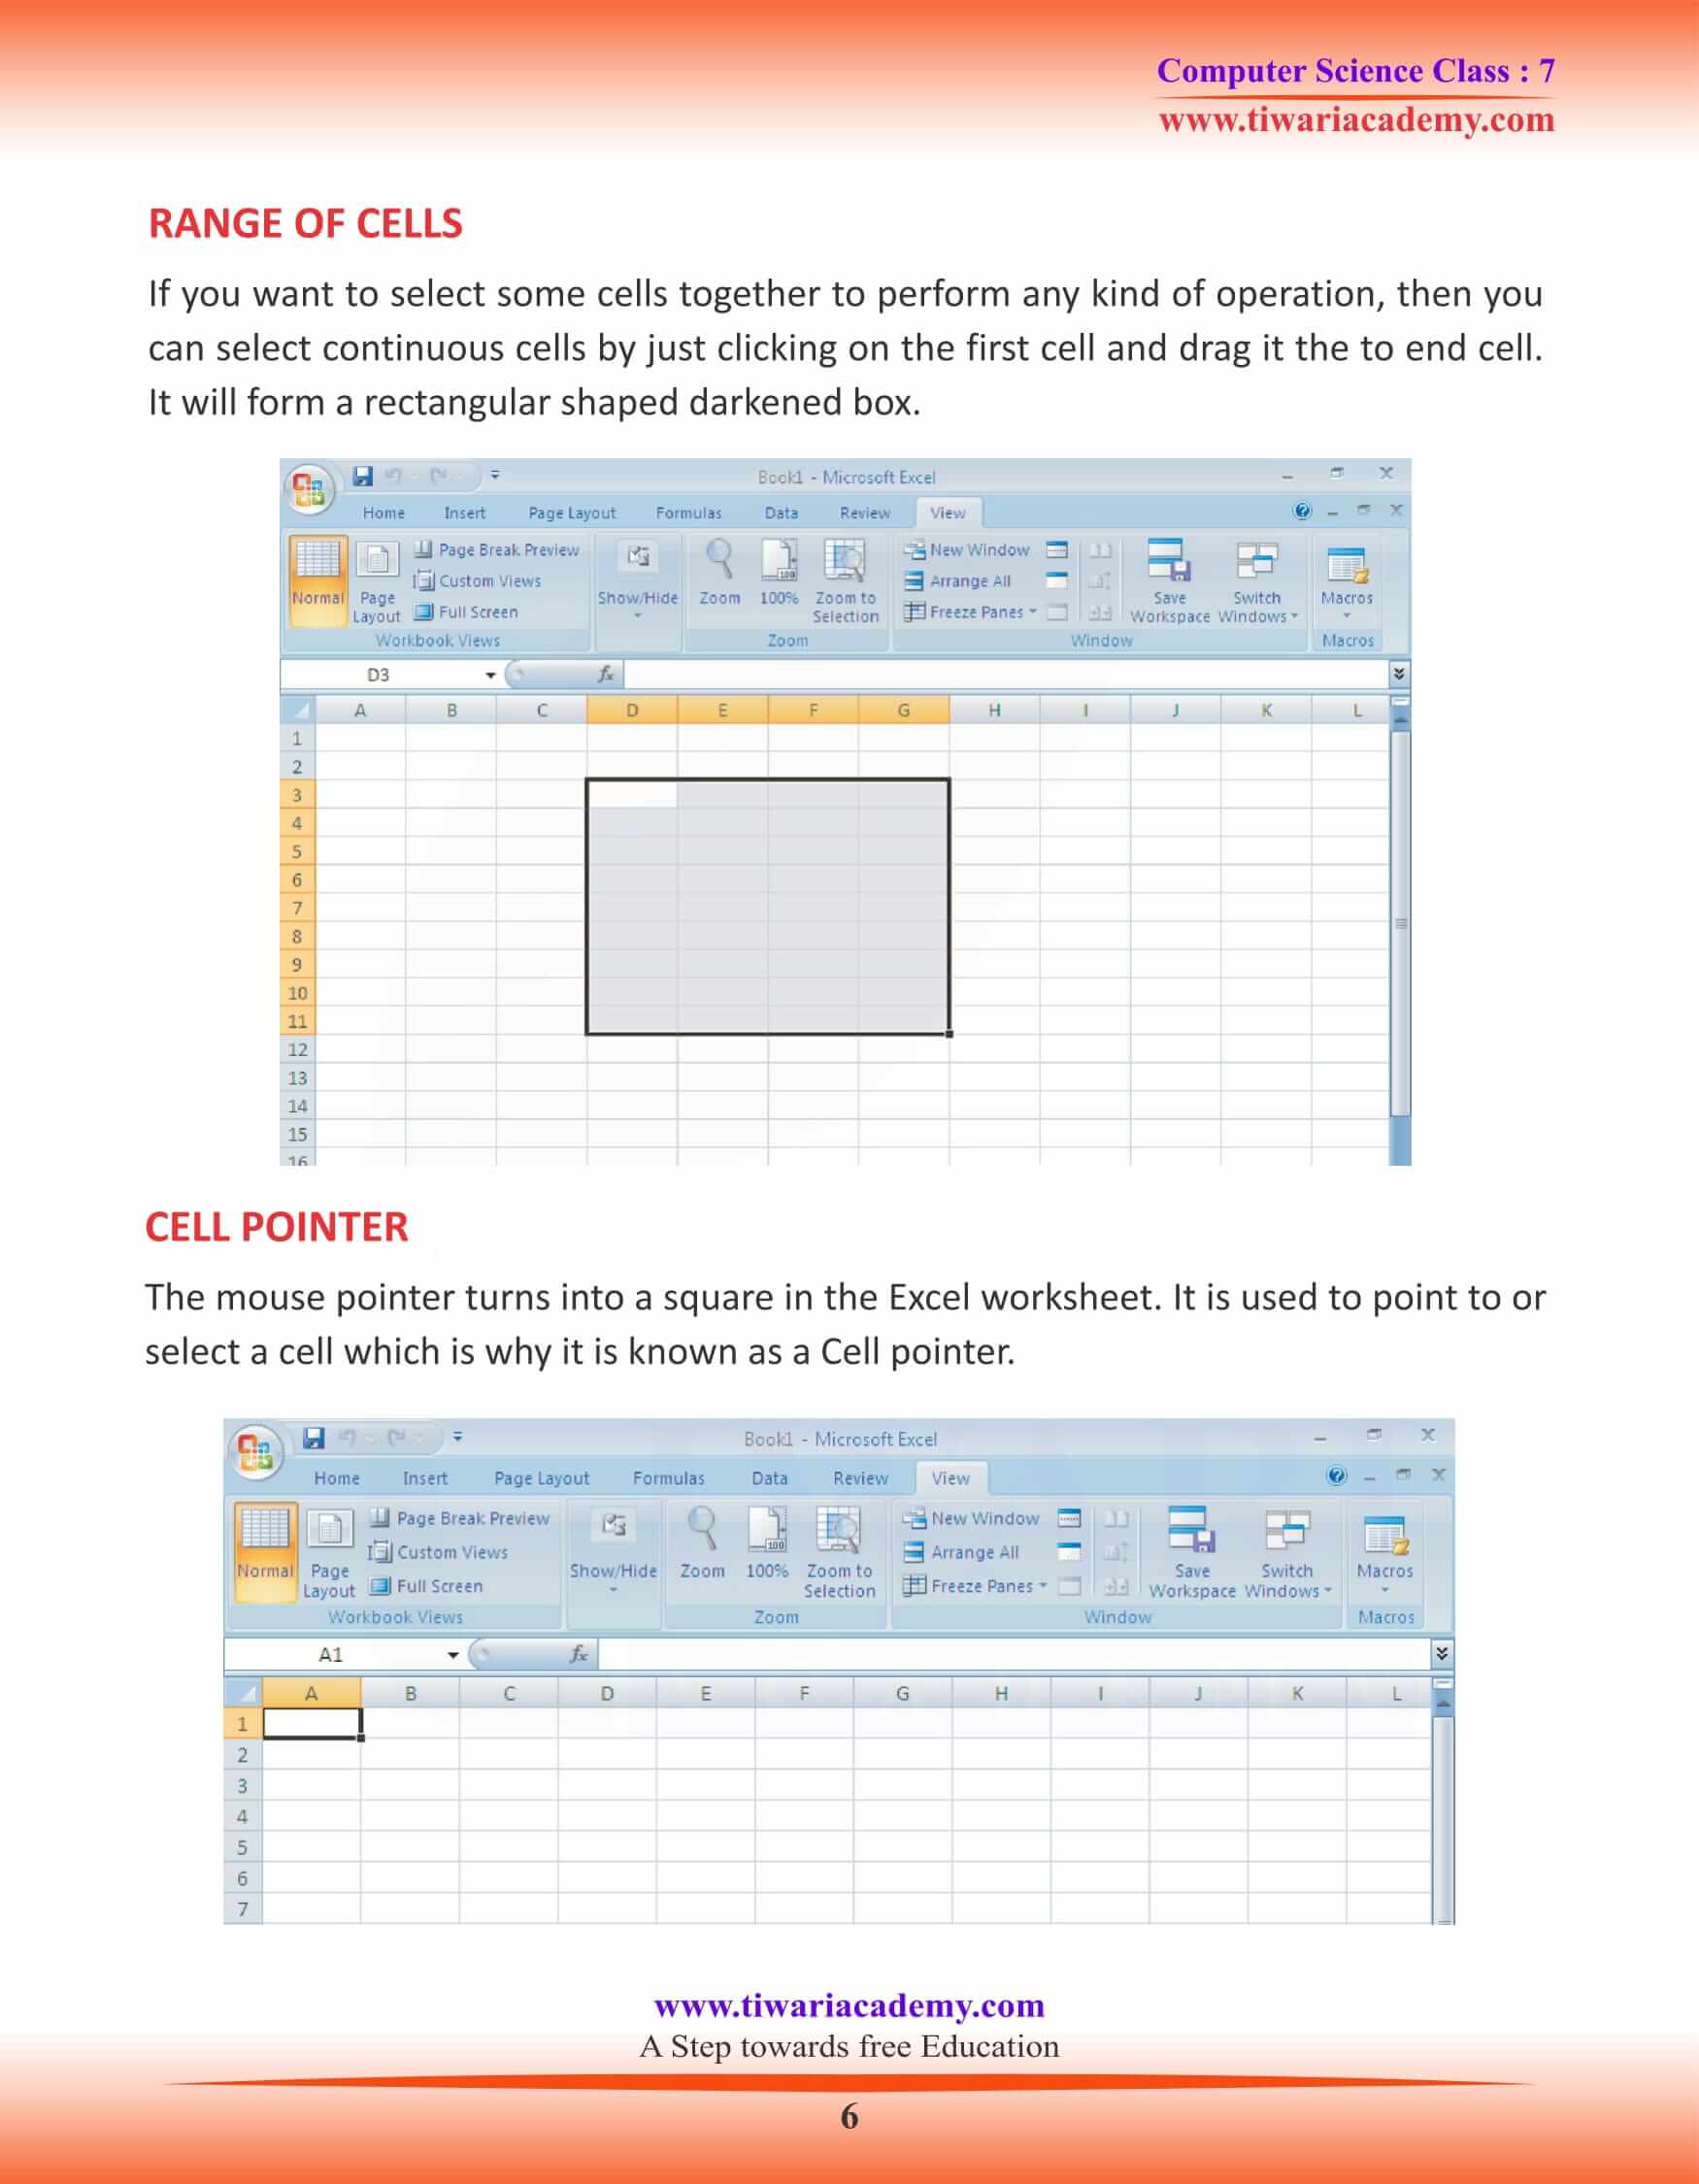
RANGE OF CELLS
If you want to select some cells together to perform any kind of operation, then you can select continuous cells by just clicking on the first cell and drag it the to end cell. It will form a rectangular shaped darkened box.
CELL POINTER
The mouse pointer turns into a square in the Excel worksheet. It is used to point to or select a cell which is why it is known as a Cell pointer.
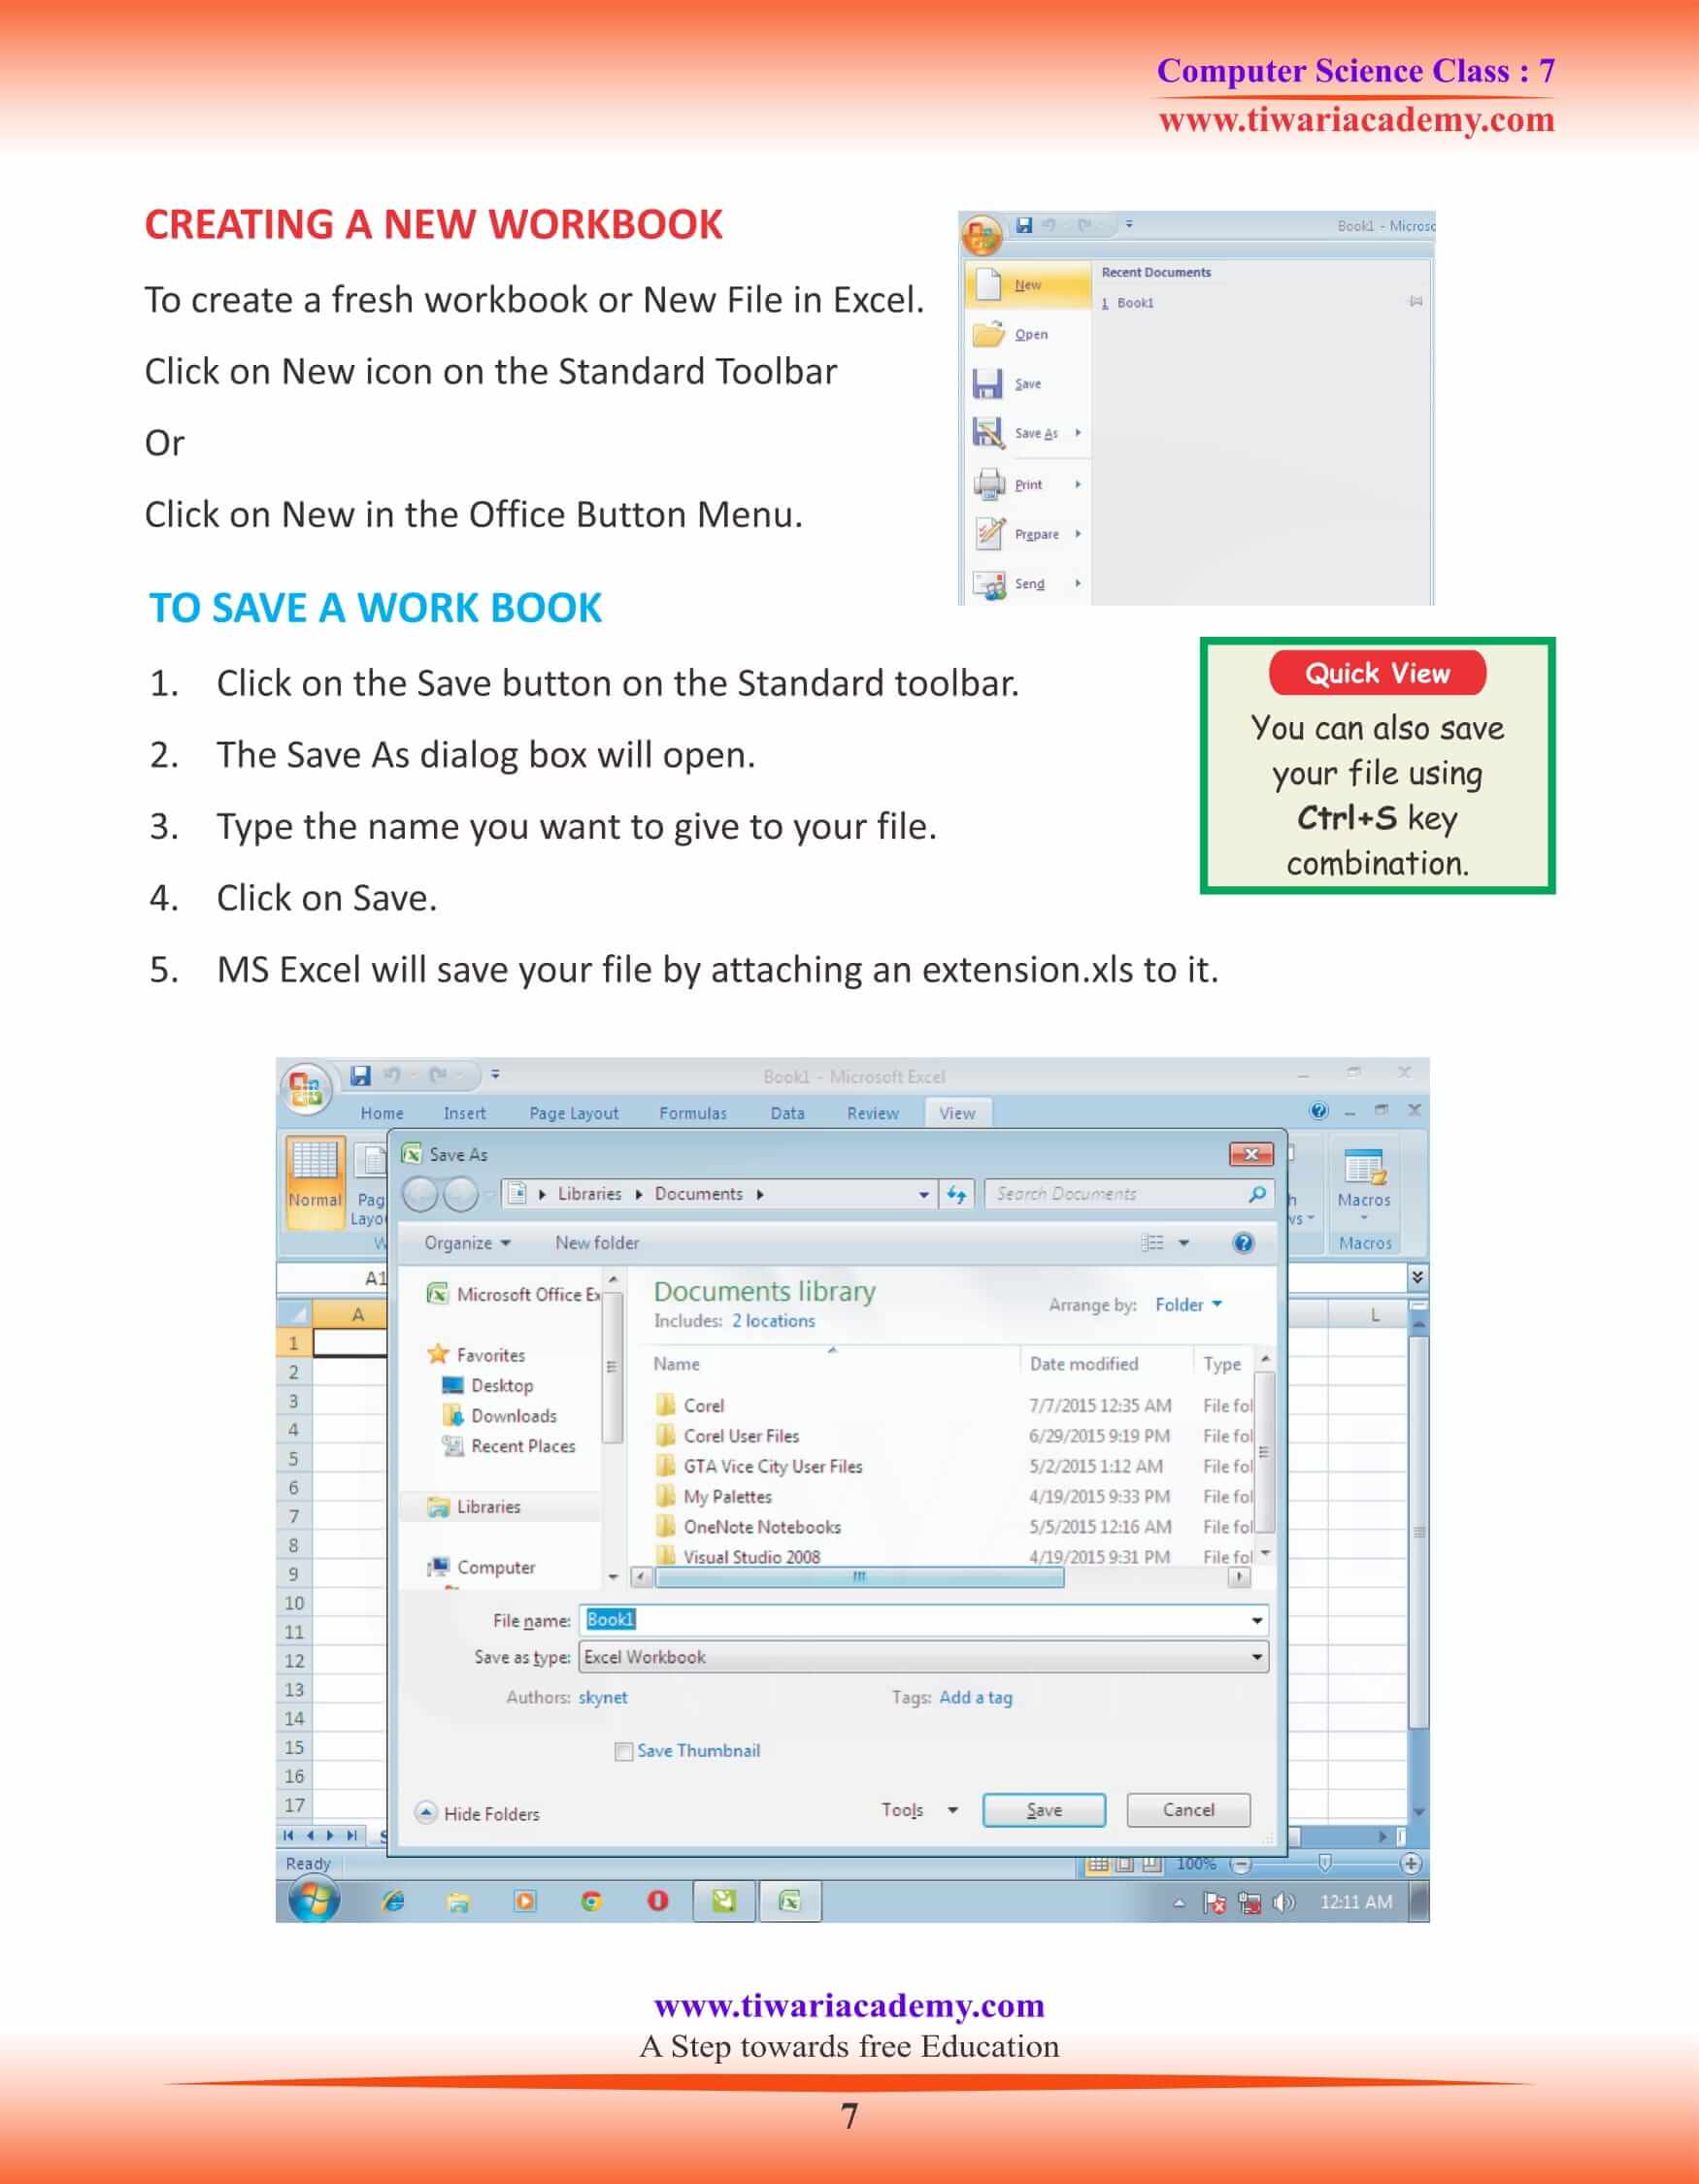
CREATING A NEW WORKBOOK
To create a fresh workbook or New File in Excel. Click on New icon on the Standard Toolbar Or Click on New in the Office Button Menu.
TO SAVE A WORK BOOK
- Click on the Save button on the Standard toolbar.
- The Save As dialog box will open.
- Type the name you want to give to your file.
- Click on Save.
- MS Excel will save your file by attaching an extension.xls to it.
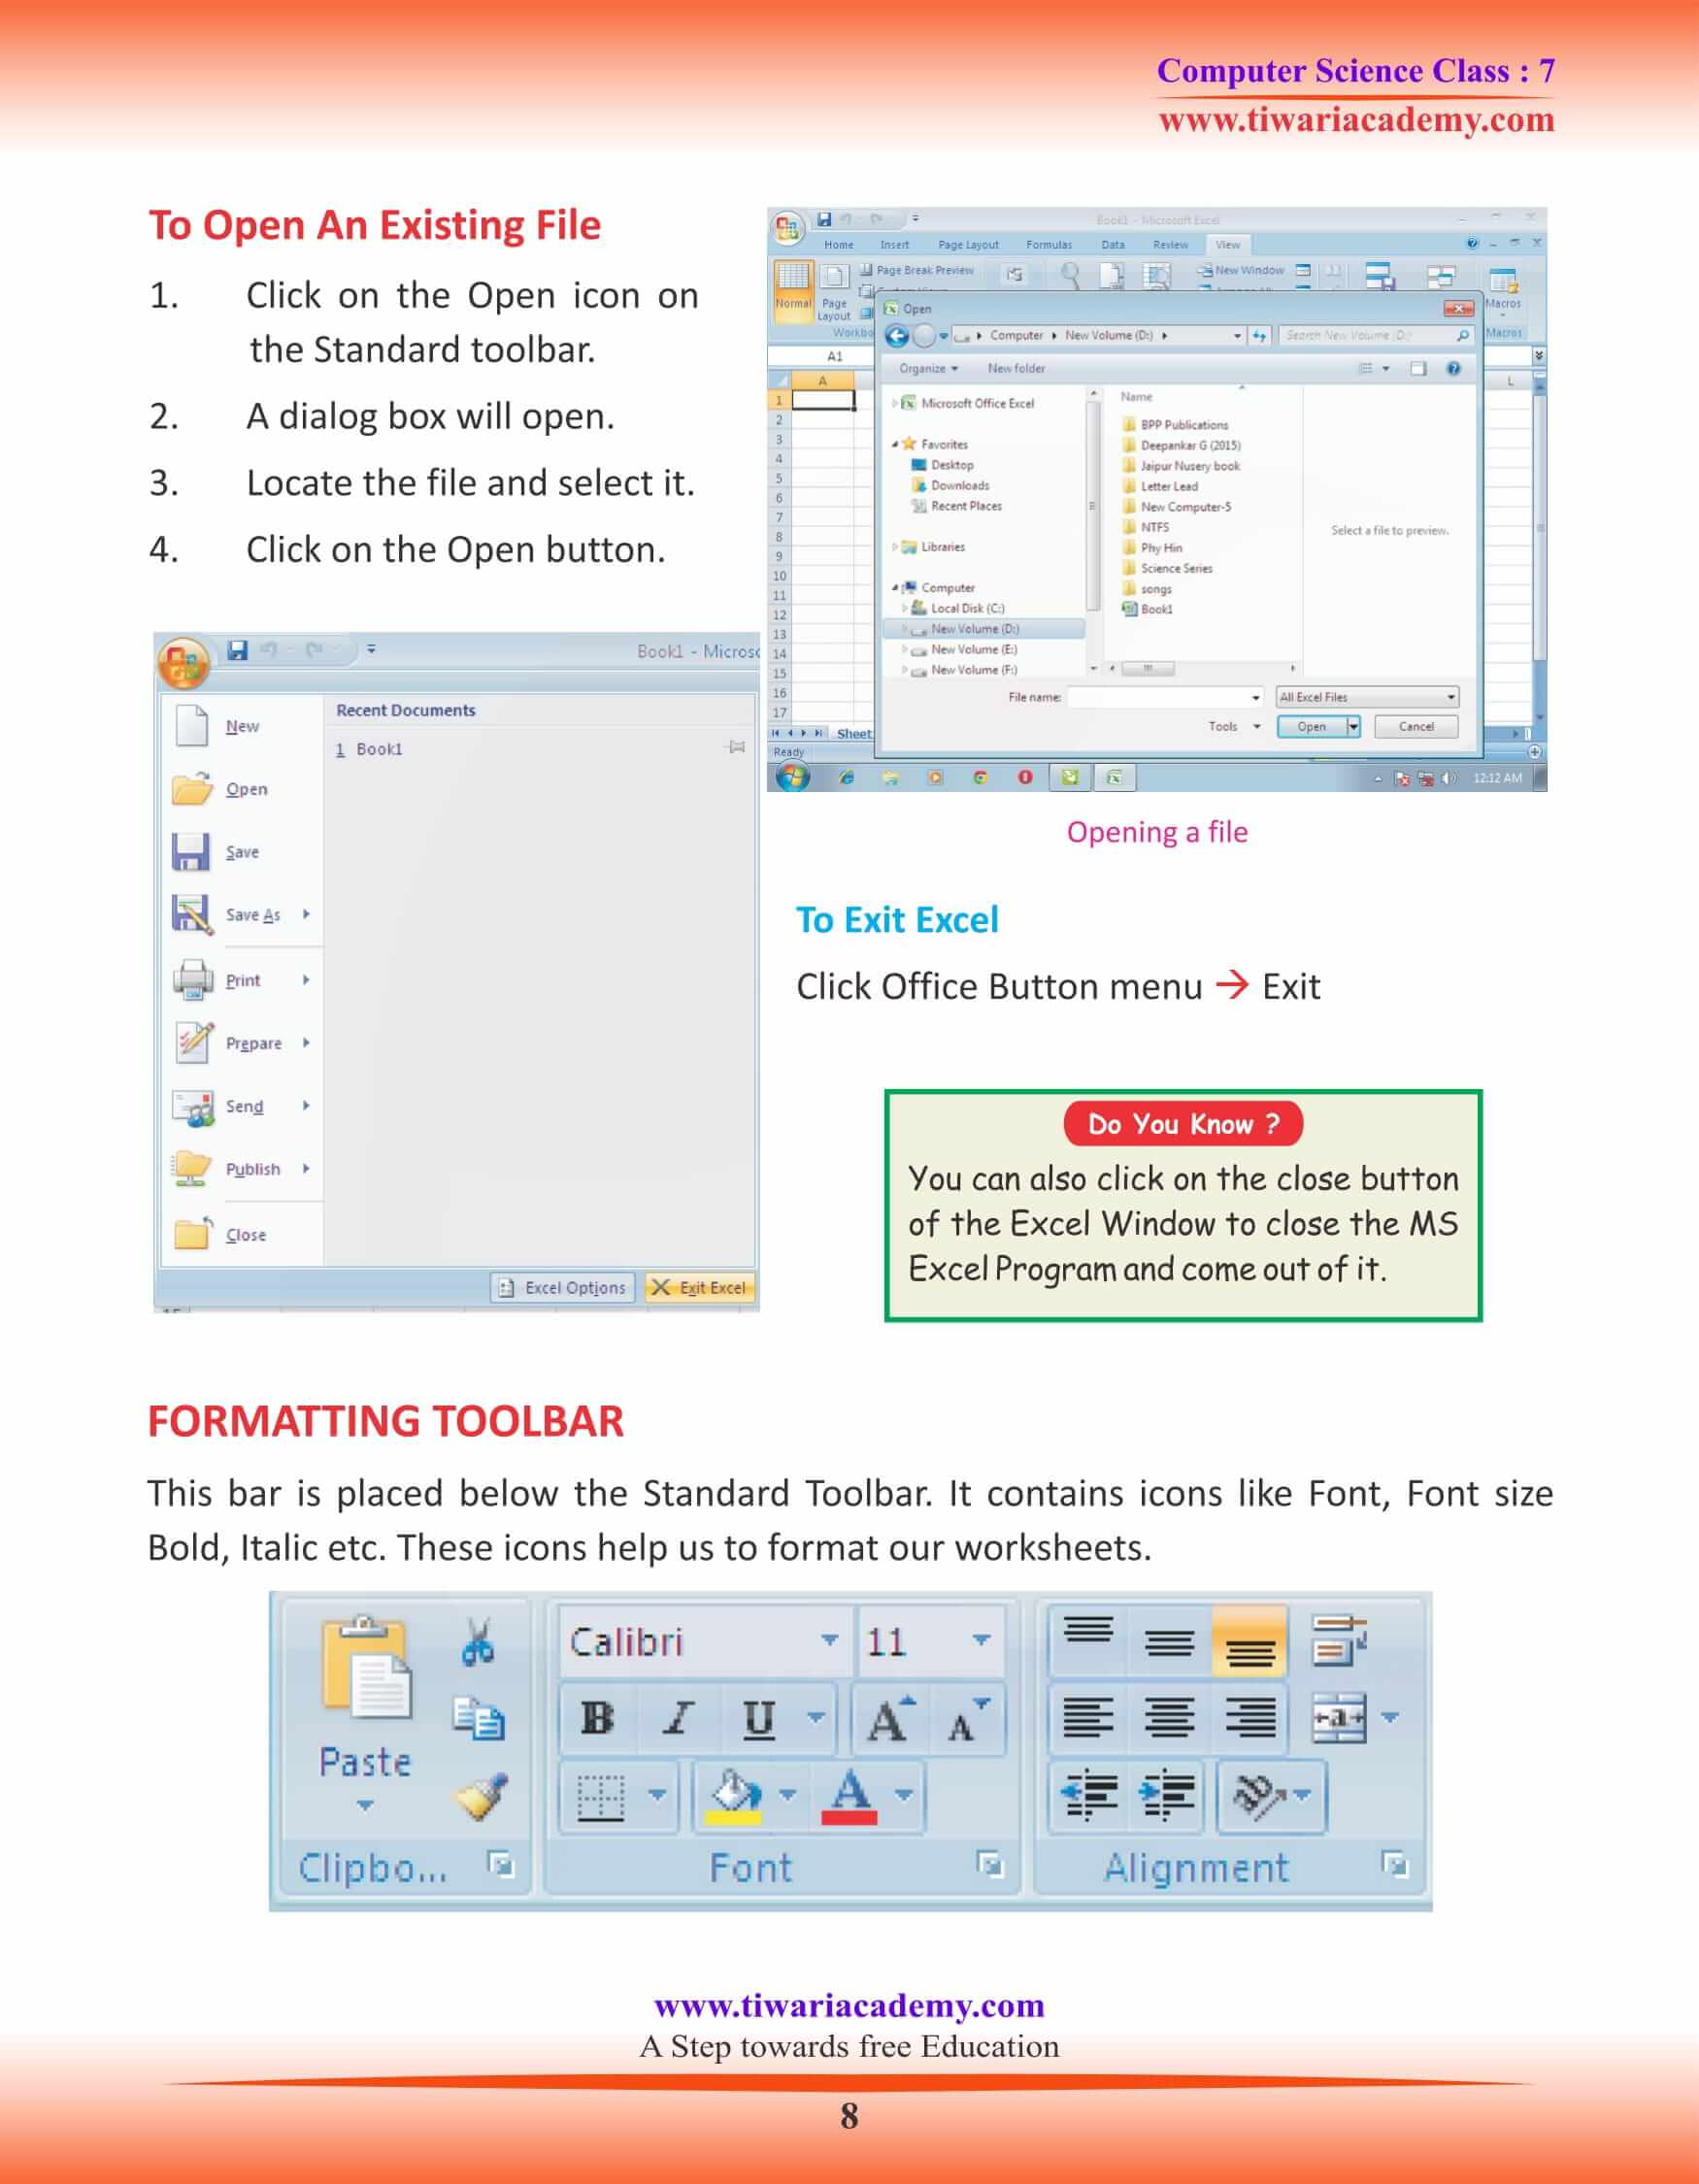
To Open An Existing File
1. Click on the Open icon on the Standard toolbar.
2. A dialog box will open.
3. Locate the file and select it.
4. Click on the Open button.
FORMATTING TOOLBAR
This bar is placed below the Standard Toolbar. It contains icons like Font, Font size Bold, Italic etc. These icons help us to format our worksheets.
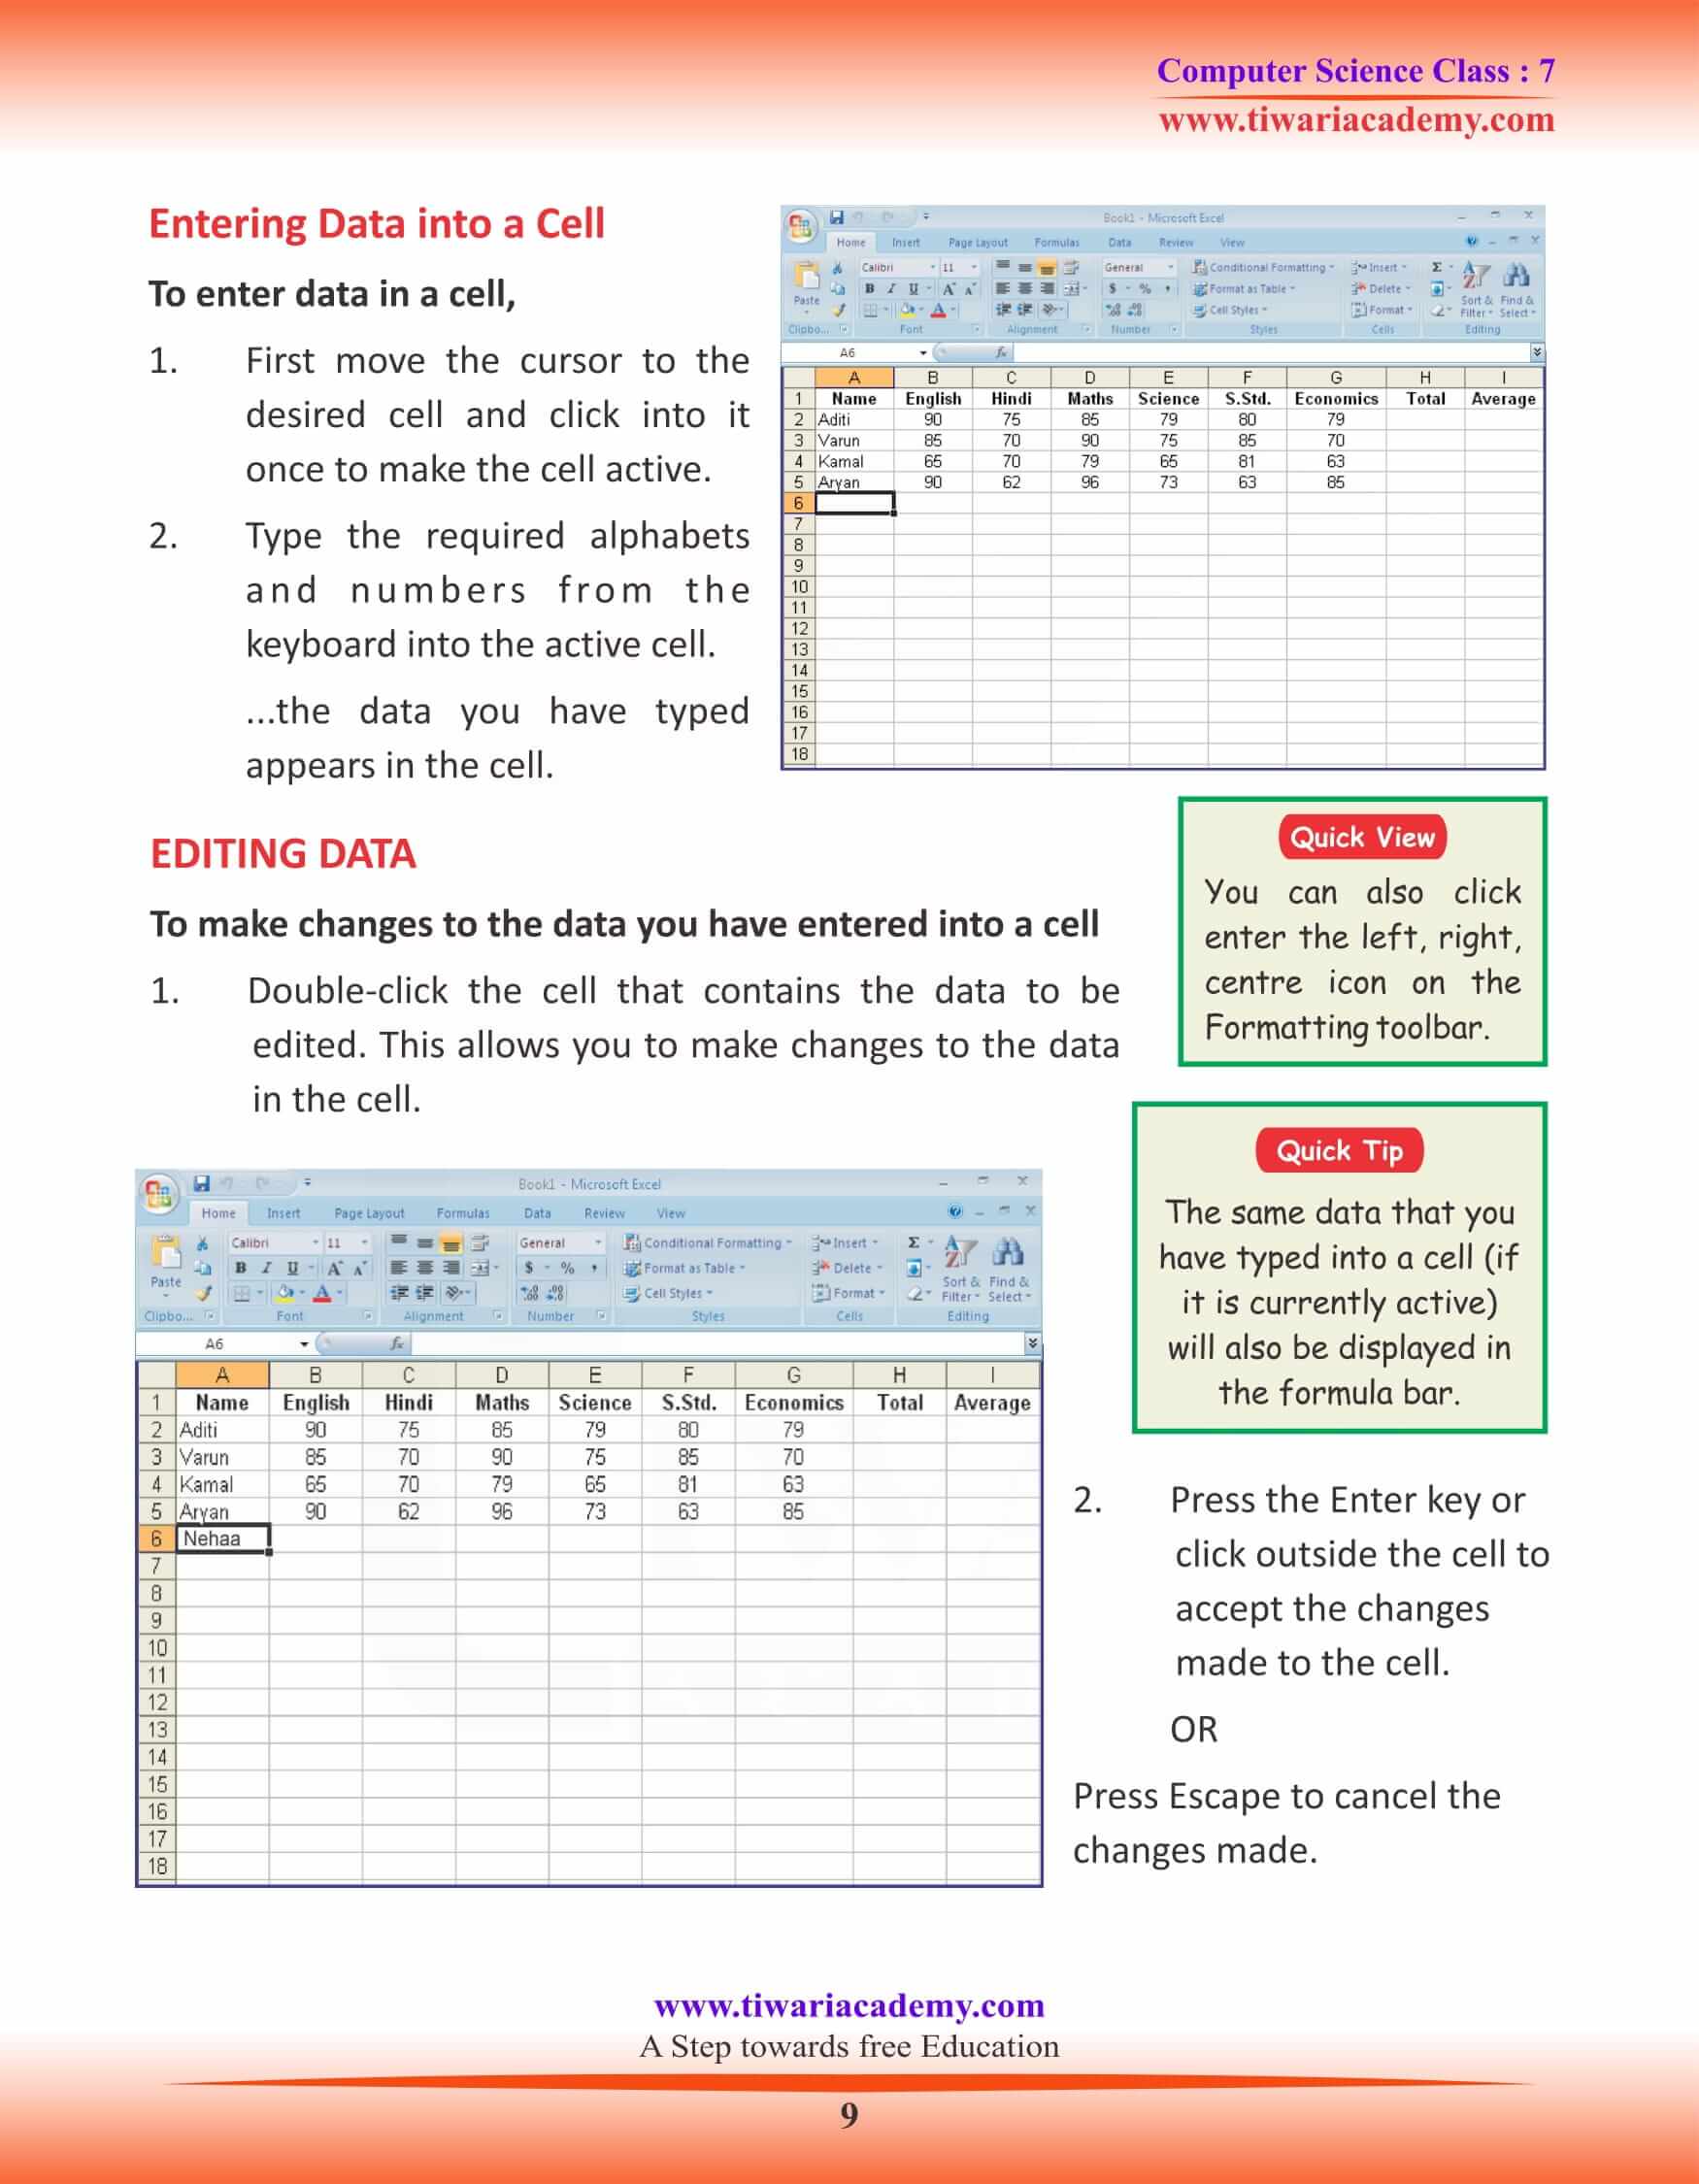
Entering Data into a Cell
To enter data in a cell,
1. First move the cursor to the desired cell and click into it once to make the cell active.
2. Type the required alphabets and numbers from the keyboard into the active cell….the data you have typed appears in the cell.